

For my last summer pattern of 2025, I wanted to make something small, dainty, and multifunctional — the perfect accessory to whip up as August ends. Something quick to make and easy to style, the perfect transition from summer to fall. Introducing: Lou!
The Lou Tie Belt/Headband is a super simple, super quick piece that can be worked up in less than an hour. It is ultra customizable — you can use any yarn weight and hook size you want AND make it to any dimensions you want!

Even for all these options, Lou is actually a very beginner-friendly pattern. In fact, Lou makes for a perfect first project, with a mix of basic stitches (sc and hdc), chains, and simple increases/decreases.
One of my favorite parts about the Lou belt is how quick it is to make, as well as how little yarn it uses. The perfect scrap-busting project for the end of summer! I have already made several Lou belts in a variety of colors and will definitely be wearing them into the fall.
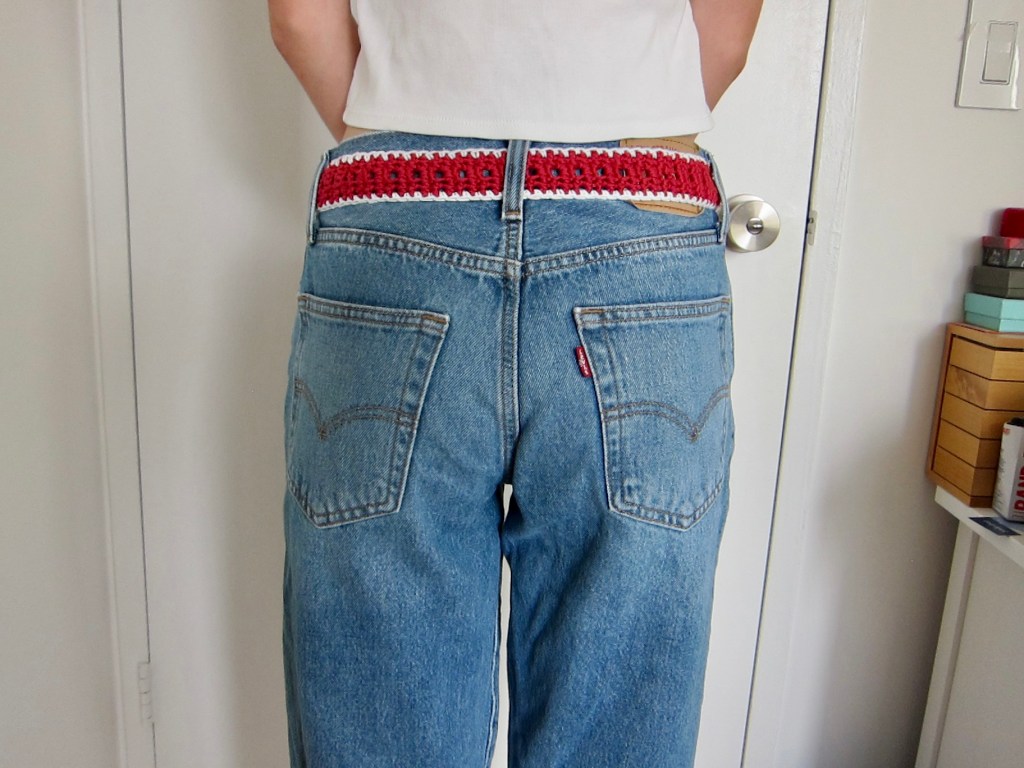
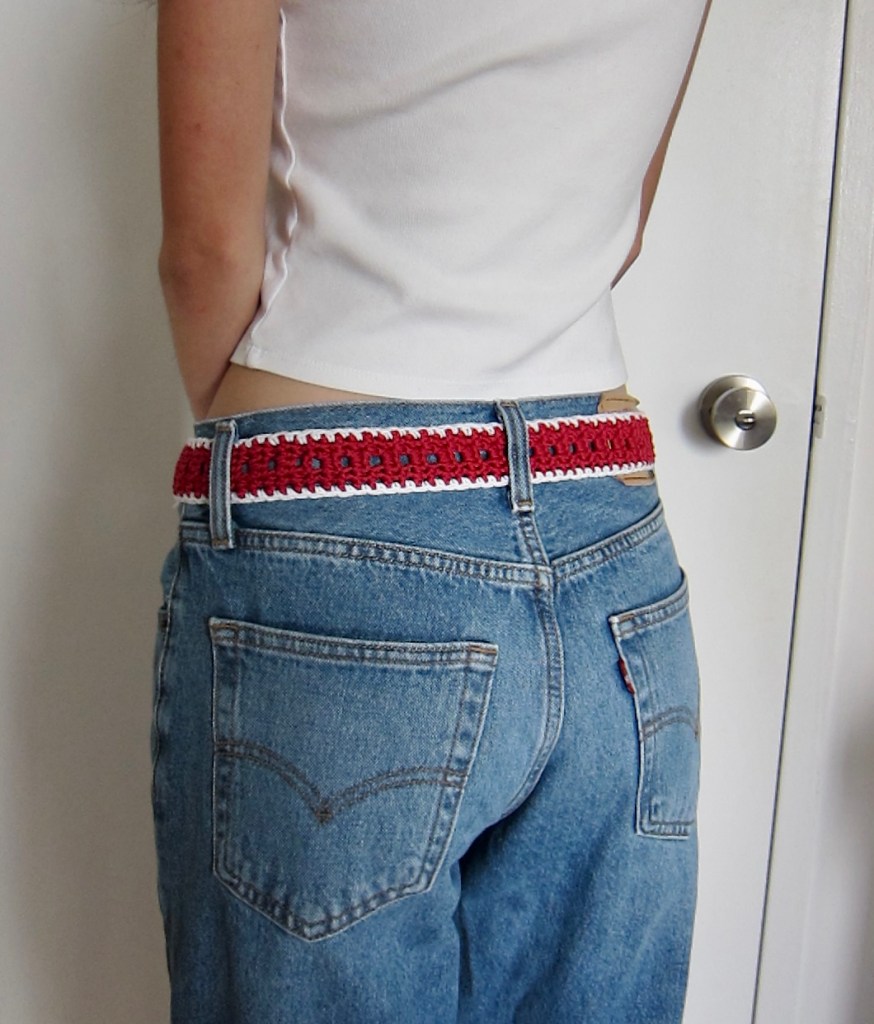
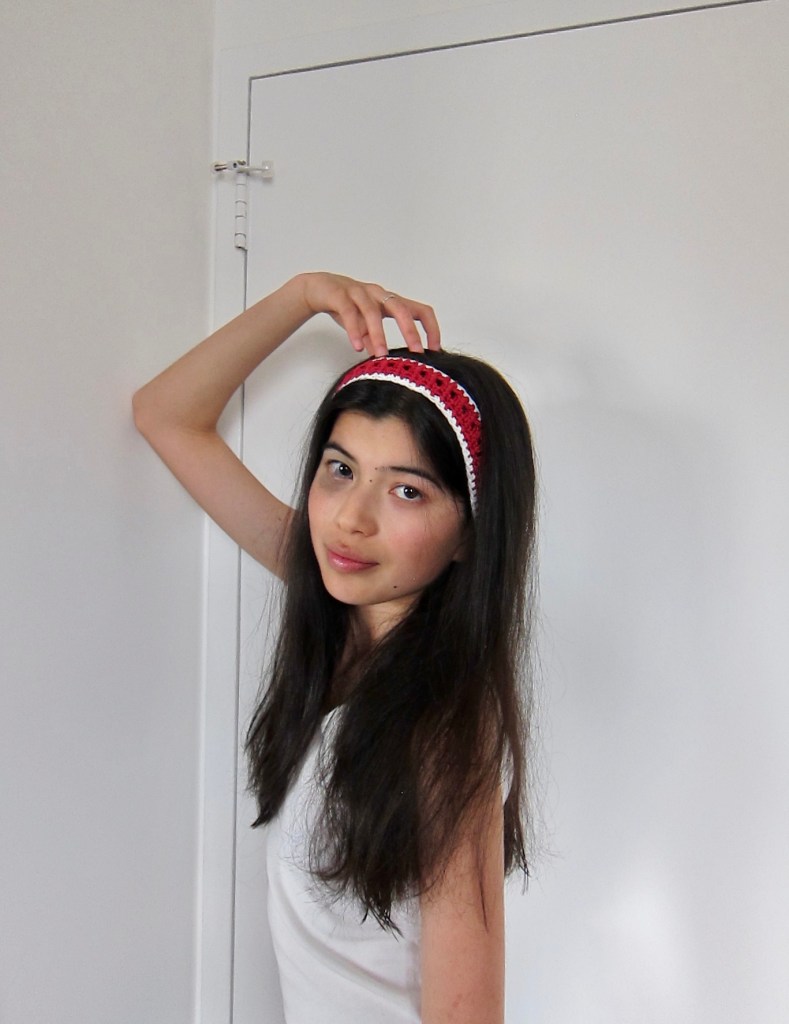
Lou can be styled in a multitude of ways, but my favorites are as a belt and a headband!
To make Lou the ultimate beginner project, I will be posting a free video tutorial on my Joy2Create Youtube in the next few weeks — so keep your eyes peeled for that! If you’re a new crocheter and intimidated by written patterns, don’t worry — visuals are on the way!

Now, without further ado, let’s get into this free pattern 🙂
MATERIALS:
Any yarn
Hook size that corresponds to yarn weight
STITCHES USED/ABBREVIATIONS
single crochet (sc)
half double crochet (hdc)
chain (ch)
sc increase (inc)
single crochet 2 stitches together (sc2tog)
single crochet 3 stitches together (sc3tog)
PATTERN
- Ch 2, turn
- Sc in next stitch, turn
- Ch 1, inc, sc in edge stitch, turn
- Ch 1, inc, sc, inc, turn
- Ch 1, inc, sc 3, inc, turn
- Ch 1, inc, sc until last stitch, inc, turn
- Repeat row 6 until belt reaches desired width
- Ch 1, sc across, turn
- Repeat row 8 twice more
- Ch 2, hdc 2, ch 3, sk 3 stitches, hdc 2, turn
- Ch 2, hdc 2, make 3 hdc into chain hole, hdc 2, turn
- Repeat last two rows until desired length (minus tapered end)
- Ch 1, sc across, turn
- Repeat row 13 twice more
- Ch 1, sc2tog, sc 3, sc2tog, turn
- Ch 1, sc2tog, sc, sc2tog, turn
- Ch 1, sc3tog, pull yarn through remaining loop.
- Fasten off.
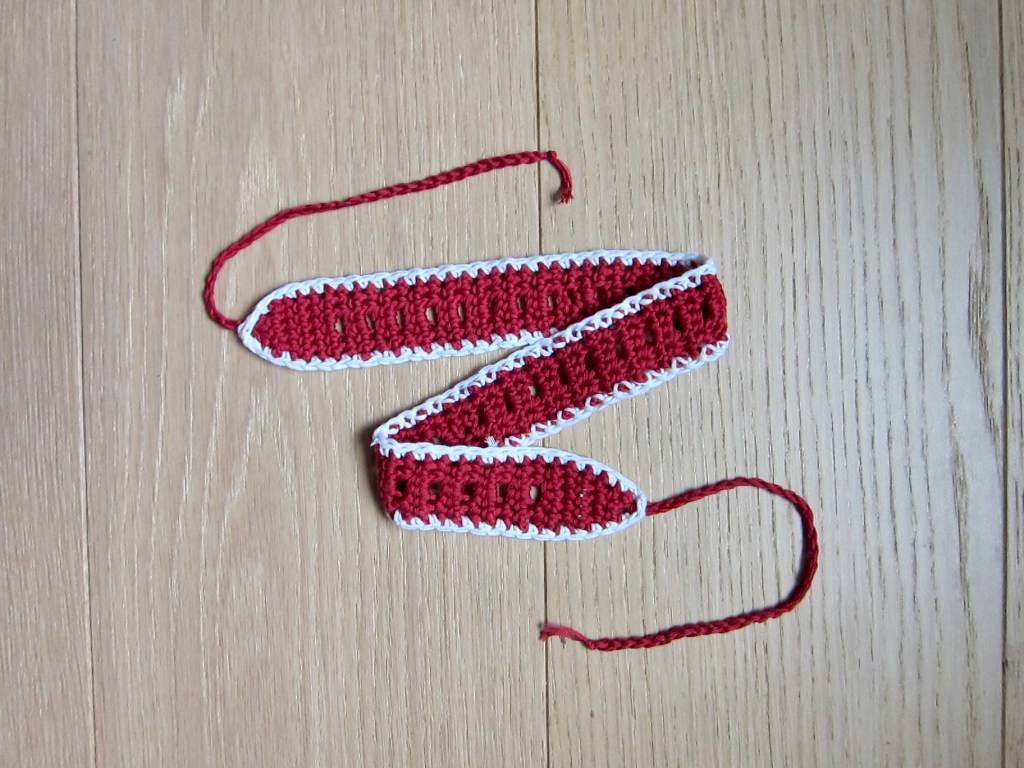
- In a contrast color, connect yarn to one end of your belt and single crochet around. When you reach your first stitch, connect with a slip stitch and fasten off. For reference, this creates the white edging in my version.
- Connect yarn to one of the tapered ends and chain a length that will be able to tie easily, then fasten off. Repeat for other tapered end.
Now you’re finished!
I hope you enjoyed making the Lou Belt/Headband. Make sure to tag me on Instagram (@joy.2.create) if you post Lou, I would love to see your creations (and how you choose to style them!)
Happy Crocheting! Fall patterns coming soon 🙂

Leave a comment