
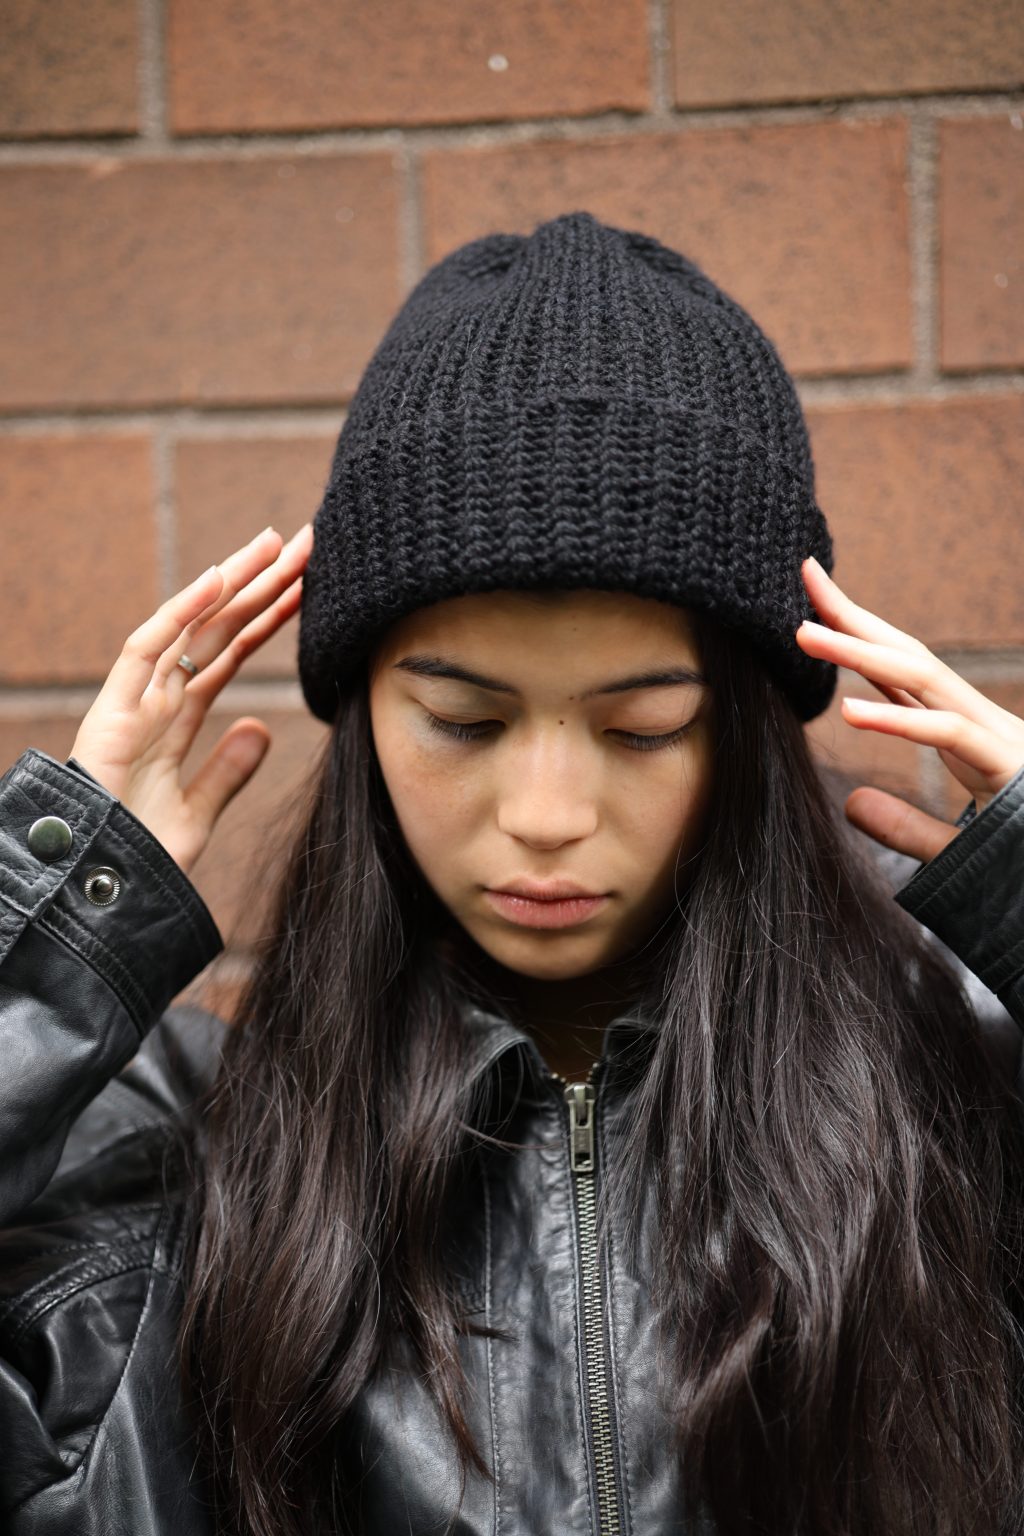
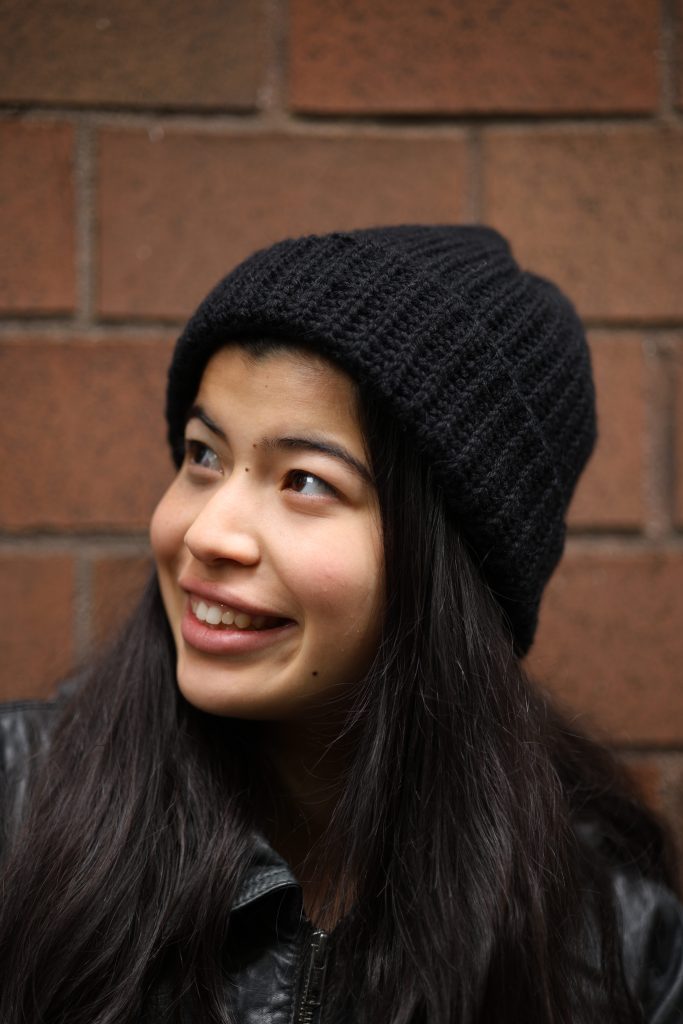
This beanie is the ESSENTIAL addition to everyone’s fall and winter wardrobe. Stretch, ribbing, and CUSTOMIZABLE SIZING?? What else can be said? (Wait, one last thing — it’s a free pattern and comes with a video tutorial at the bottom of this page!)

These hats are quick to whip up and go with everything in your closet. They are the perfect gifts for the upcoming holiday season since you can adjust the width to fit everyone in the family!

This hat is crocheted as a rectangle and then seamed up the sides. That’s what gives it its customizable nature! You can make the rectangle as long or as wide as you’d like, thus determining how slouchy the hat is and what circumference head it will fit.

One of my favorite things about this hat is the stitch I used for it. This variation of a slip stitch (but it’s not a slip stitch!) makes for a knit-looking fabric that is stretchy and doesn’t take forever to make! I love a good slip stitch ribbing, but sometimes that just takes too long. The yarn-over slip stitch combo used in this hat creates a sleek, ribbed look that gives the same effect but works up so much quicker!
Oh! And one last thing before we dive into the pattern — did I mention how many options you have for this hat? I made mine a tad bit longer so that I could fold the brim over and still have some slouch left. However, you could make it tight with no brim, or even longer with a double folded brim! That will definitely be my next one 🙂

Without further ado, let’s dive into this pattern!
MATERIALS:
- Yarn (you can use whatever yarn you want for this pattern. It’s fully customizable that way!) I used two strands of DROPS Flora held double. This worked up to be about a DK weight.
- Hook. Use whatever hook size works with your yarn weight. For me, that was a 5mm hook.
THE STITCH:
The stitch used for this hat pattern is a yarn over slip stitch. It’s included in the video tutorial at the bottom of this blog post, so scroll down to check that out!
note: BLO means the back loop only. You will be working in the back loops of stitches for this pattern.
PATTERN
- Chain however long you want your hat to be. (This determines how much slouch you will have). For reference, I made a chain of 10 inches.
2. Ch 1 for turning, then Yarn over slip stitch across until the last 10 stitches. In the last 10 stitches, regular slip stitch across.
3. Ch 1 for turning, regular slip stitch in the BLO for the first 10 stitches. Yarn over slip stitch in the BLO for the rest of the row.
4. Ch 1 for turning, yarn over slip stitch in the BLO until the last 10 stitches. In the last 10 stitches, regular slip stitch in the BLO across.
5. Repeat rows 3 and 4 until hat reaches desired width (should fit circumference of head). Remember that your hat will have some stretch to it, so when holding the fabric up around your head, make sure to stretch it out a little.
6. Slip stitch up the sides to seam the sides of the rectangle together.
7. Cinch the top of the hat (the side with the regular slip stitching).
8. Weave in ends. You’re finished!
Note: If any of the steps above were confusing, there’s a video tutorial below!
I hope you enjoyed crocheting this hat. I certainly did! This is a classic that I will be wearing all fall and winter.
Happy Crocheting!

Leave a reply to 22 Warm Winter Crochet Beanies You Must Try Cancel reply