
I know it’s been a while, but I’m back for the end of the summer with a new pattern and a new craft! All my previous posts on this website have been for crochet patterns, but I’ve been knitting a lot recently so I’ve decided to publish a few knitting patterns (free as always) on this blog as well. I hope you enjoy!

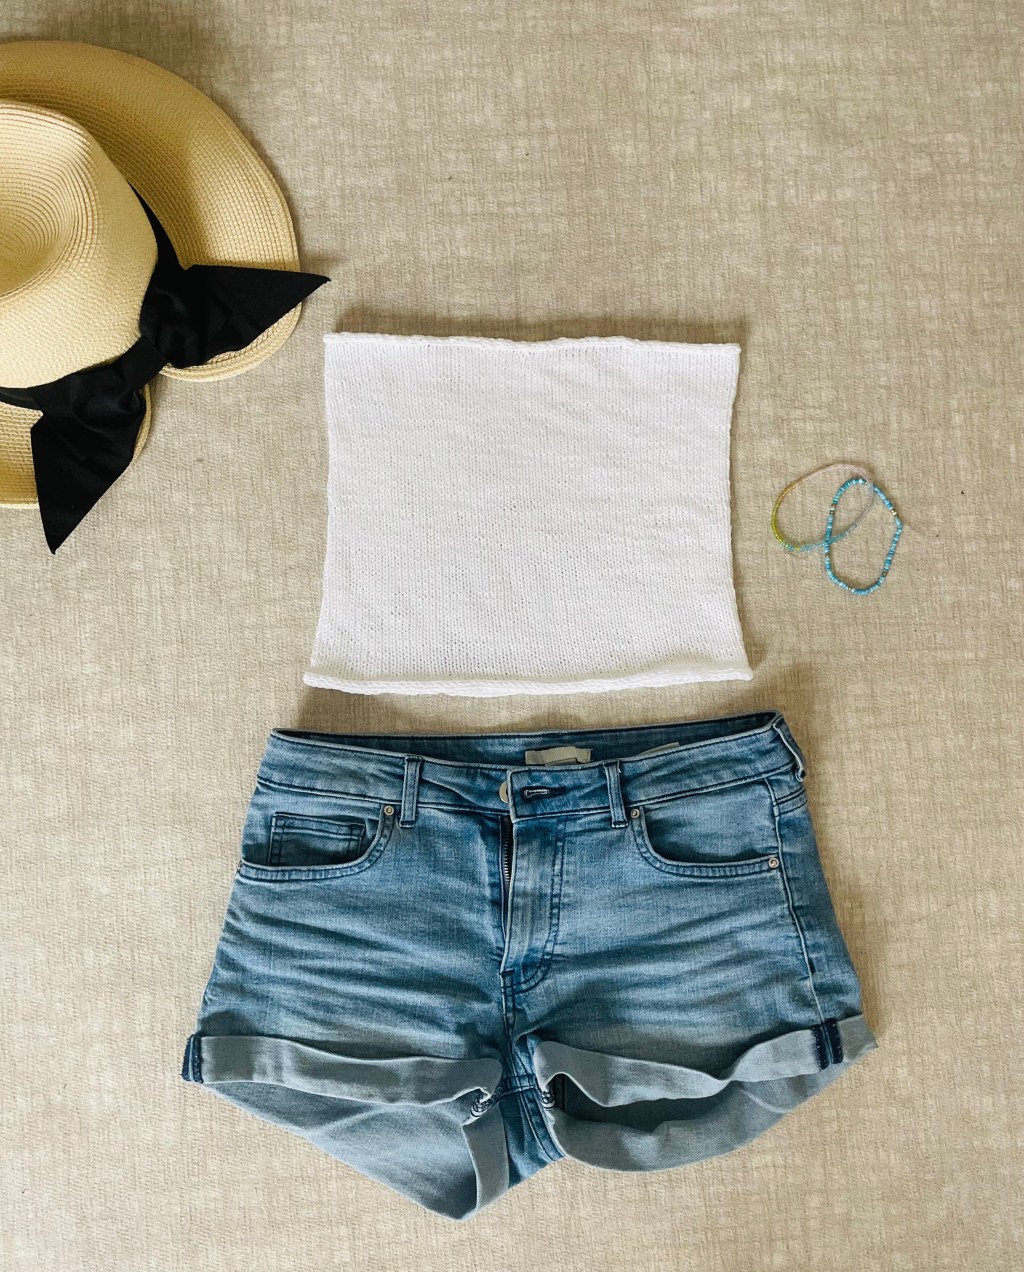
Today’s pattern is what I’m calling the Basic Tube Top because that’s what it is — the most basic tube top you could ask for!
You could opt for the simplest version, which is just a knit tube, or incorporate some decreases for your waist. Although there are instructions for waist shaping, this pattern doesn’t include bust shaping (so if your bust is considerably larger than your underbust, maybe consider looking up some bust shaping tutorials).

The pattern is completely customizable (I do love my customizable patterns) because it uses your measurements and gauge to determine your stitch count! Don’t worry, I’ll hold your hand through all the calculations necessary. They’re not too bad, I promise!
NOTE: Before you continue to the free pattern below, the Basic Tube Top is also available on my Ravelry and Etsy! The paid pattern includes a link to an EXCEL SPREADSHEET where you simply input your measurements and the spreadsheet will output all of the numbers you need, without any manual calculations!
If you want a digital downloadable, printable pdf version of this pattern (or if you just want to support me!) please check these two platforms out!
Ravelry: https://www.ravelry.com/patterns/library/basic-tube-top-3
This tube top truly matches with everything. If you wish, you could even add icord straps to the top for more security. (Or wait to check out a new pattern coming to my blog soon, the Basic Tank Top) 😉
When I said earlier that this pattern is customizable, that isn’t just for sizing… it’s for gauge as well! You can use ANY yarn and ANY needle size you’d like because we will be calculating your personal gauge in this pattern, not telling you what gauge to achieve.
Although any gauge will work for this pattern, I do recommend using thinner yarn and smaller needles to make your fabric more opaque. I also recommend using a yarn with some stretch to it (for example, merino) as we will be using negative ease to construct this top. Negative ease simply means that the top’s circumference will be LESS than your bust circumference, for a tighter fitting garment. I will be going into the details of my personal gauge and materials used below.

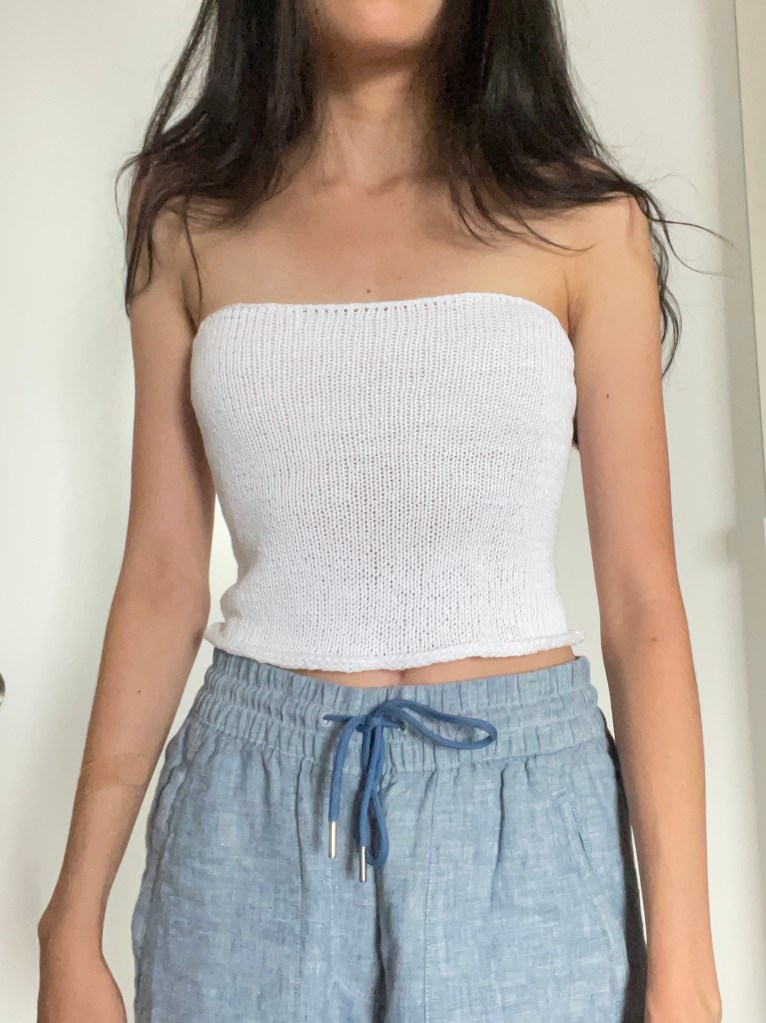
Despite recommending merino above, I did use cotton for my version simply because it is a more summery yarn. However, I do notice that my version has stretched out a bit more with wear, and it has become more of a swim cover-up for me than an actual top now. Therefore, I do recommend merino, although you of course are welcome to follow in my footsteps of cotton as well 🙂
MATERIALS
- Yarn (thinner yarn recommended, fingering — DK) (merino yarn or other yarn with stretch/nylon content recommended)
I used about 1.5 balls of DROPS Safran, a fingering weight cotton (haha) yarn
2. Circular knitting needles (you could knit this flat as well and seam up the sides. To modify this pattern for flat knitting, you simply cast on the number of stitches recommended as you would for circular knitting, but then instead of joining in the round, work flat, with knit and purl rows. At the end you will seam up the two sides to create your tube top).
I used 3.25 circular knitting needles (but use whichever size is recommended for your yarn, or a size smaller than that)
3. Elastic (OPTIONAL!)
I didn’t use elastic, but it would have definitely helped my tube top stay in shape better, especially since its cotton.
PATTERN
The first part of this pattern consists of knitting a swatch and measuring your gauge.
SWATCH
- Cast on 15 stitches
- Knit stockinette for 15 rows
- Cast off
Note: stockinette means that you knit the right side rows and purl the wrong side rows. AKA: knit the first row, purl the second, and repeat for 15 rows. You should end on a knit row.
Recommendation: For a more accurate swatch, I would swatch in the round. Below I’ll link a tutorial for swatching in the round:
If you plan on blocking your final knit (which I highly, highly recommend), block your swatch as well before measuring. This will make your results more accurate.
(If you don’t know what blocking your knits is, google it! It’s basically soaking your knits in water and letting them dry afterwards. This relaxes the stitches and makes a knit fabric truly bloom. The process results in a piece that is more drapey, with neater stitches. I highly recommend doing this, especially for garments!)
MEASUREMENTS
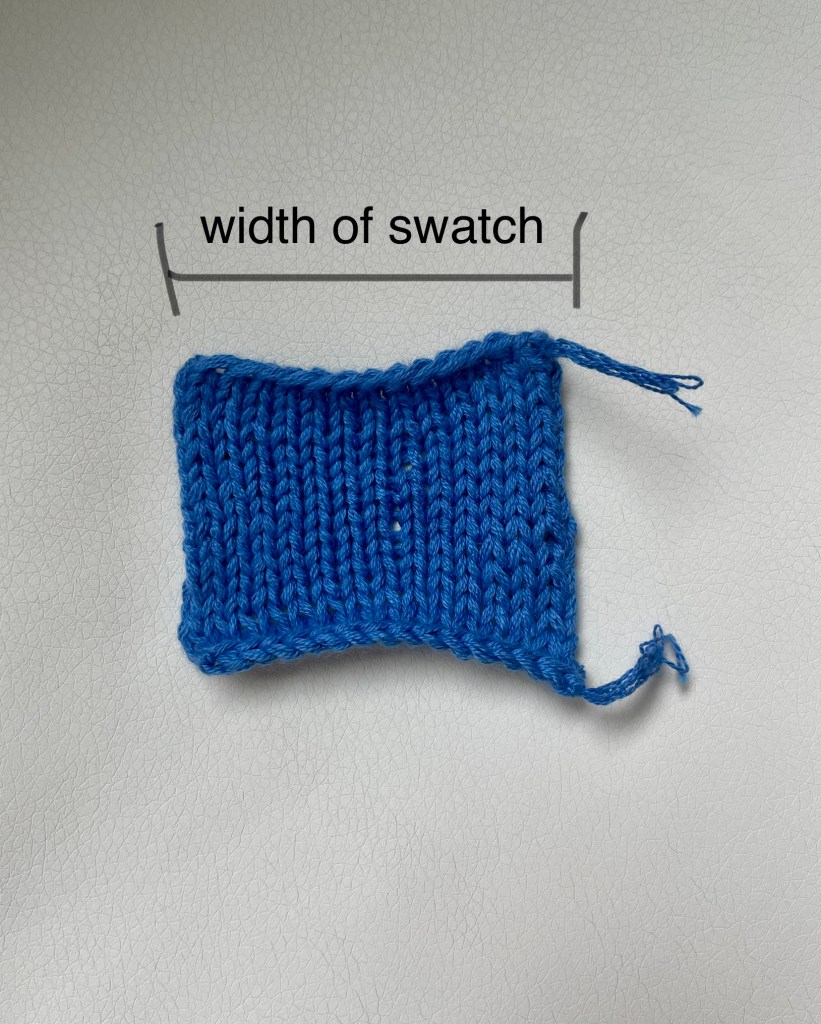
After your swatch is knitted up and blocked, take its measurements. This means simply measuring the width of your swatch. It doesn’t matter if you use cm or inches, but pick a metric and stay consistent! I’ll be using inches.
Note: when measuring the width of your swatch, stretch the swatch slightly to mimic the fabric stretching over your body.
Now, take some of your own measurements (making sure to use the same units as before!)
First, measure your bust.
Then, measure your underbust.

CALCULATIONS
Let a = width of your swatch
Let b = bust measurement
Let c = underbust measurement
Let d = how much negative ease you want. For example, 0 negative ease would mean that the top would be exactly the circumference of your bust. However, I recommend using more negative ease than that so that the top hugs your body and doesn’t slide off. For example, I would use 1 – 3 inches negative ease. Keep in mind what kind of yarn you are using (and how stretchy it is). Your e value should be a positive value.
Initial cast on calculations:
- Subtract d from b. Call this number z.
2. Divide a by 15. Call this number y.
3. Divide z by y. Choose the nearest whole number. This is the number of stitches you will cast on.
If you want to see these directions in a more mathematical format, plug your numbers into the expression below:
(b – d) / (a / 15)
OPTIONAL waist decreasing calculations:
- Subtract c from b. Call this number x.
2. Divide x by y. (y is from above calculations). Choose the nearest whole number. This is the number of stitches you will decrease by.
3. Divide the above number by 4. Choose the nearest whole number. This is the number of decrease rounds you will have.
If you want to see these directions in a more mathematical format, plug your numbers into the expression below:
(b – c) / y
((b – c) / y) / 4
DIRECTIONS
VERSION 1: NO WAIST SHAPING
- Cast on designated number of stitches.
2. Join in the round and knit until your tube top reaches desired length (I knit to around 10 inches)
3. Now we will do an icord cast off. Cast on three stitches using cable cast on.
4. Knit 2 stitches, ssk. Slip stitches back onto left needle.
5. Repeat step 4. (If this is confusing to you, look up “icord cast off tutorial”).
6. When there are three stitches left on your needles, cast off and sew the ends of the icord together.
7. Pick up stitches along cast-on edge.
8. Complete icord cast off again (steps 3 — 6).
9. Weave in ends, you’re finished!
VERSION 2: WITH WAIST SHAPING
- Cast on designated number of stitches. Place a stitch marker for beginning of round.
2. Join in the round and knit until your tube top covers your bust.
3. Knit a quarter of your stitches (about, doesn’t have to be exact) and place stitch marker. This is your new beginning of round marker.
4. Knit half of your stitches and place a stitch marker. This is called your first decrease marker. Knit to next marker, which is called your second decrease marker.
5. Knit to two stitches before first decrease marker, SSK, slip marker, K2TOG.
6. Knit to two stitches before second decrease marker, SSK, slip marker, K2TOG.
7. Knit to beginning of round marker. Then knit rounds until 1/2 – 1 inch since last decrease.
8. Repeat steps 5 – 7 until you have done specified number of decrease rows (rows, not total number of decreases). This can be found in the calculations section.
9. Knit until the tube top reaches desired length (I knit to about 10 inches).
9. Now we will do an icord cast off. Cast on three stitches using cable cast on.
10. Knit 2 stitches, ssk. Slip stitches back onto right needle.
11. Repeat step 4. (If this is confusing to you, look up “icord cast off tutorial”).
12. When there are three stitches left on your needles, cast off and sew the ends of the icord together.
13. Pick up stitches along cast-on edge.
14. Complete icord cast off again (steps 3 — 6).
15. Weave in ends, you’re finished!
That’s it for this pattern! I hope you enjoyed knitting this top as much as I did.
It’s such a quick project — perfect for a quick summer cover-up. Or.. imagine it in black for a night out!

Happy Knitting! Don’t forget to post a picture and tag me at @joy.2.create on Instagram if you knit this top.

Leave a comment