
Am I late to the balaclava trend? Maybe a little. But it’s still winter, which means it’s still the season for cozy headwear, so maybe this balaclava pattern came at a good time after all!
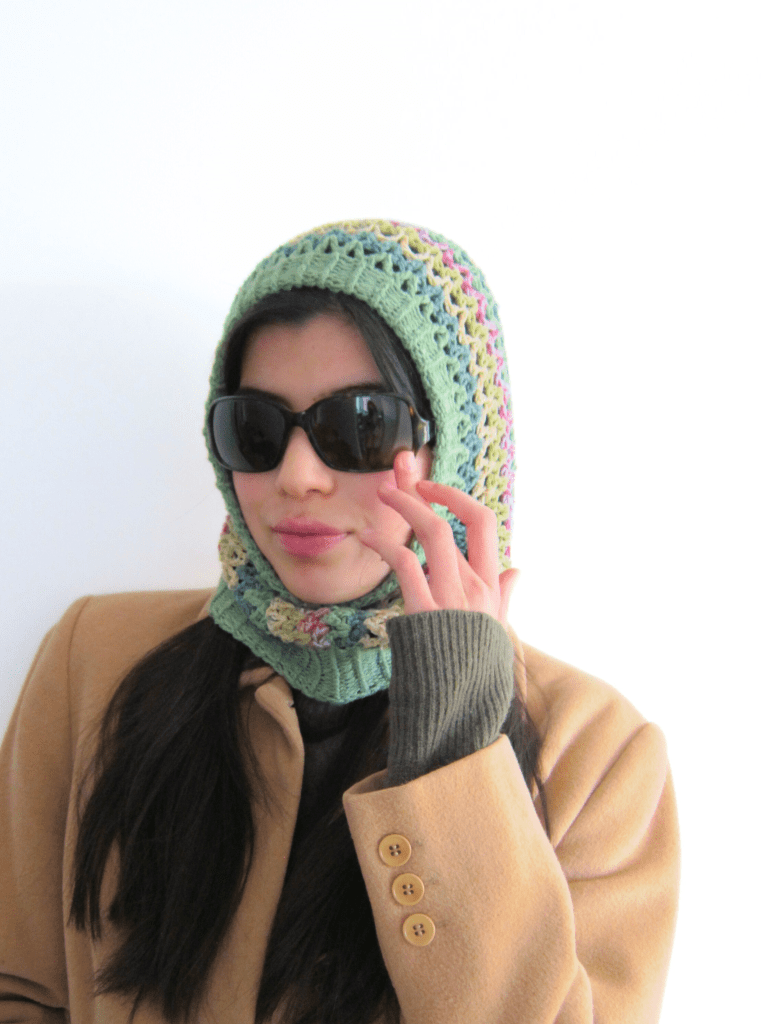
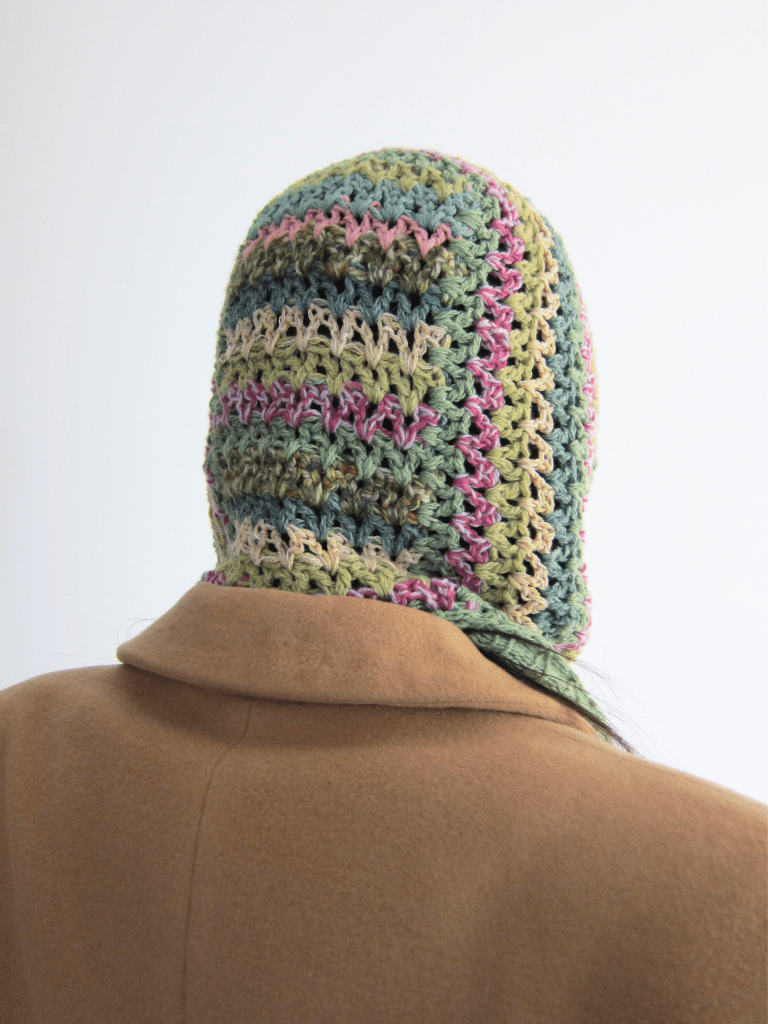
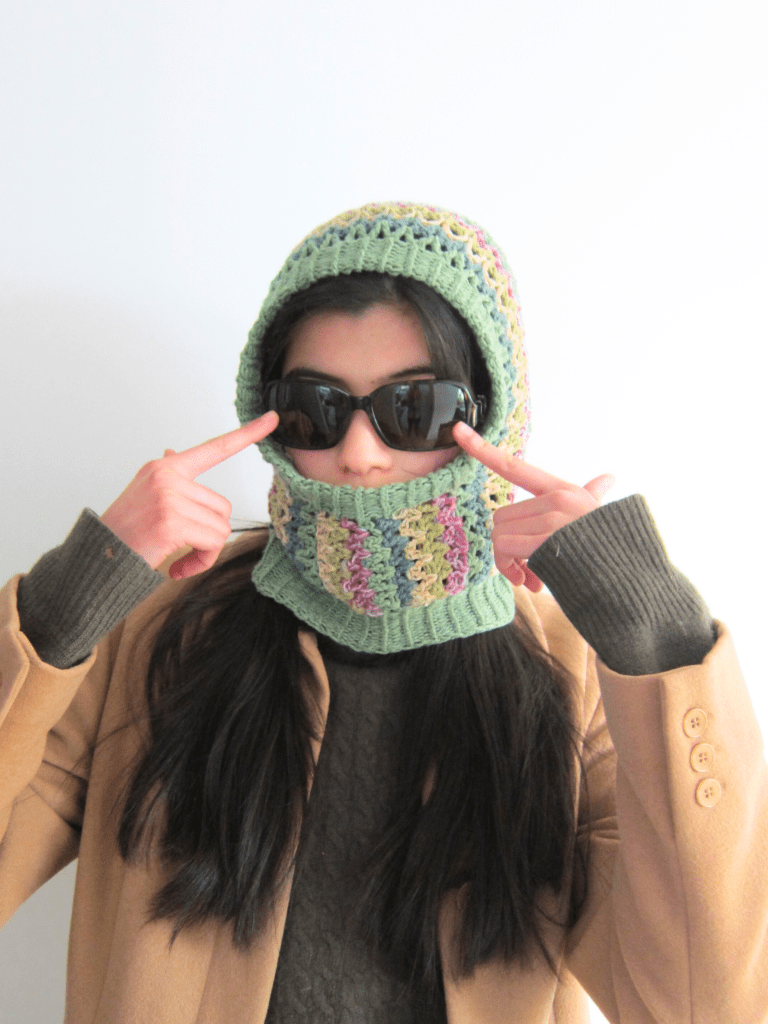
When making this pattern, I had a few specific goals in mind. First of all, I wanted to make a balaclava that was actually WARM. It’s tighter around the head than a traditional hood and hugs the face a little closer, making it the perfect accessory for those super cold and windy winter days.
Second of all, I wanted this balaclava to be easy to make with scraps! I’ve been on a yarn ban so I’m running out of huge quantities of yarn… but I have a lottt of scraps left over. This pattern will most definitely not be the first scrap yarn pattern I release in 2025!
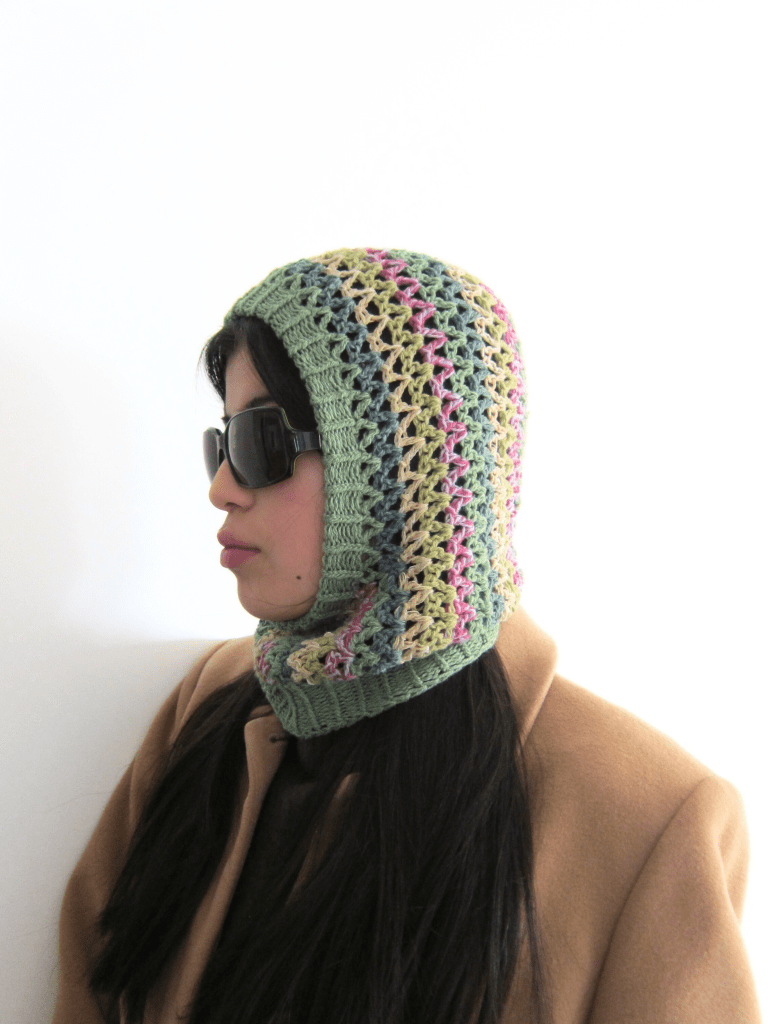
Lastly, I wanted this balaclava to have a good fit. With balaclavas being so close to the head, it can be easy to mistakenly knit a size too loose or a size too tight, resulting either in a baggy fit or an uncomfortable one. In this pattern I’ll provide the numbers that I used to fit my head, but I’ll also detail customization instructions so that you can make a balaclava that will fit YOUR head with the perfect amount of room to spare.
Although this balaclava is mainly crocheted, I did add some knitting to mine in the ribbed hem sections. This is because I prefer the look and the practicality of knit rib over that of crochet. I highly recommend you go for this method as well, but if you want to crochet your balaclava all the way, I’ll provide alternate instructions for that as well.
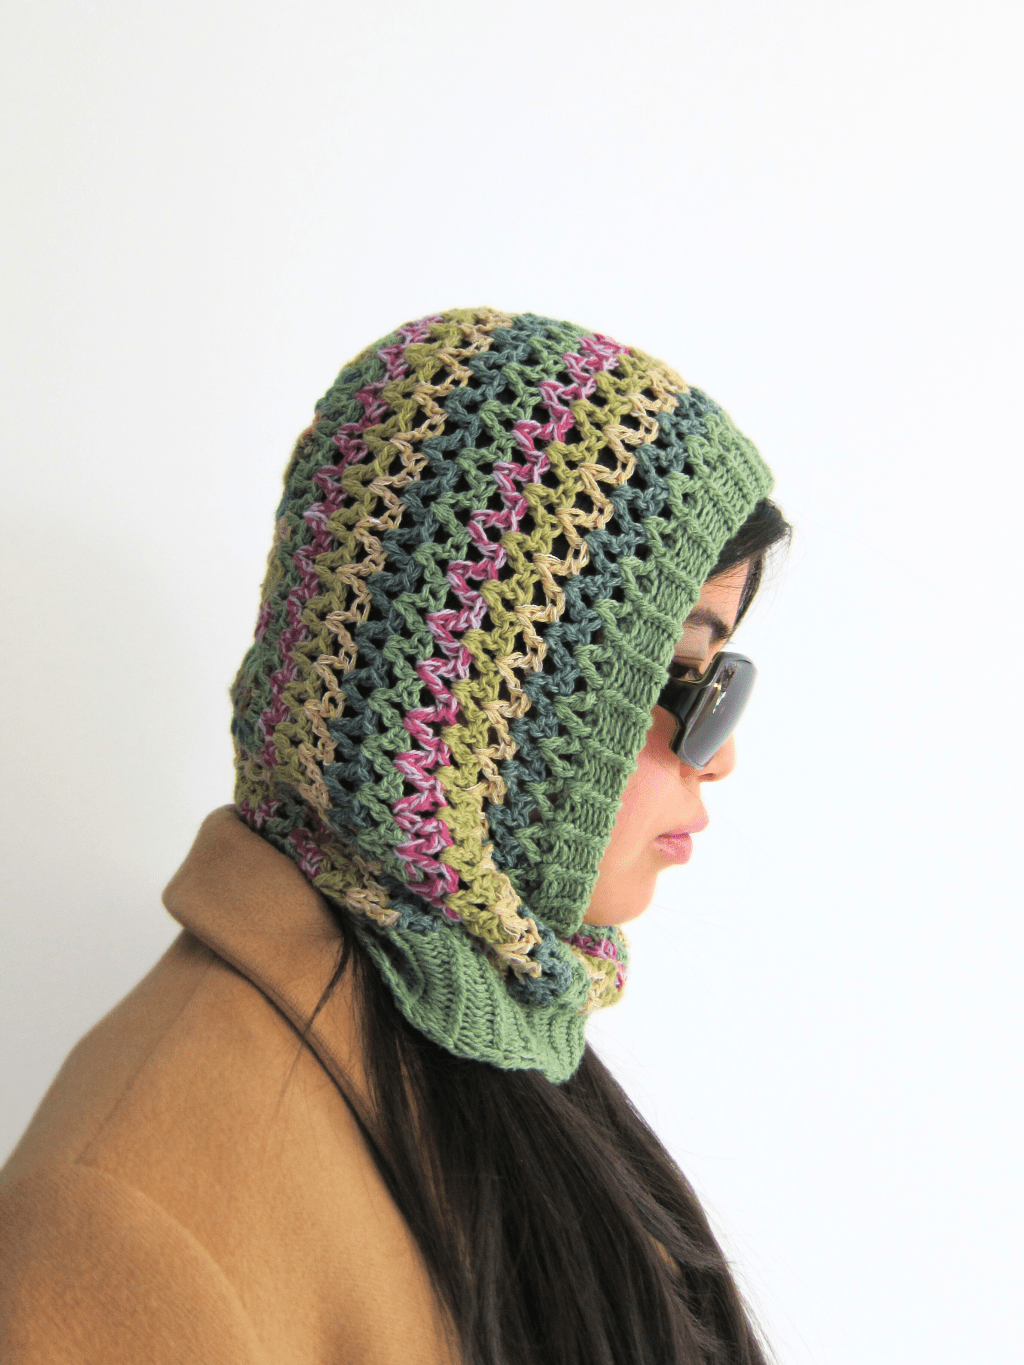
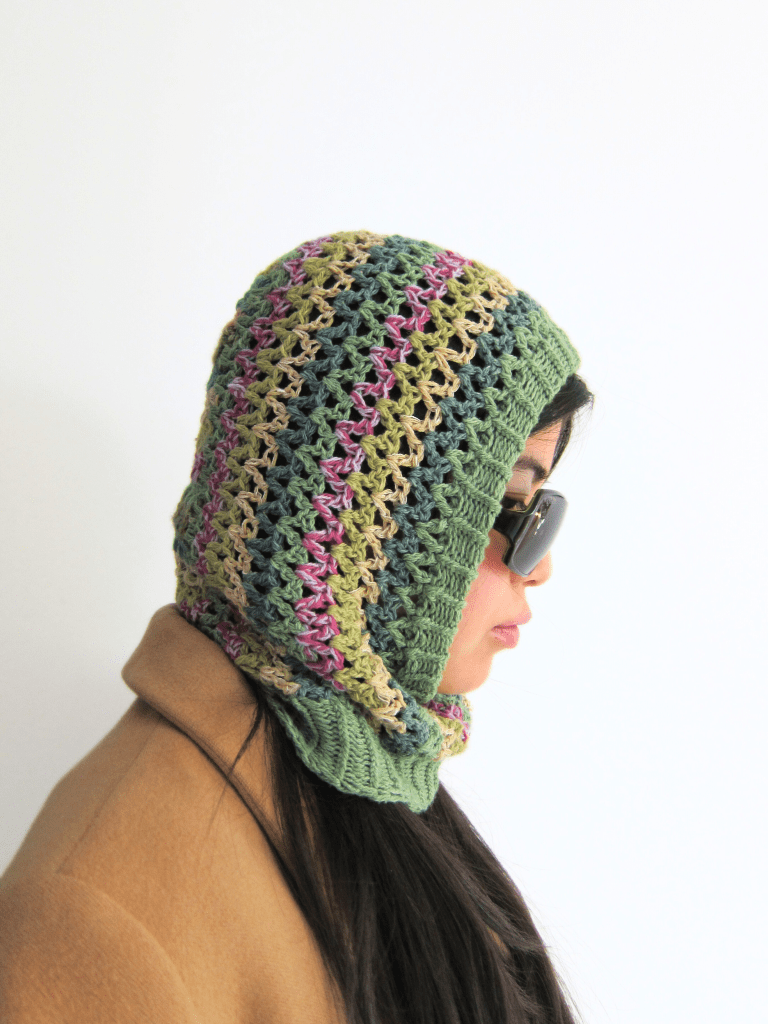
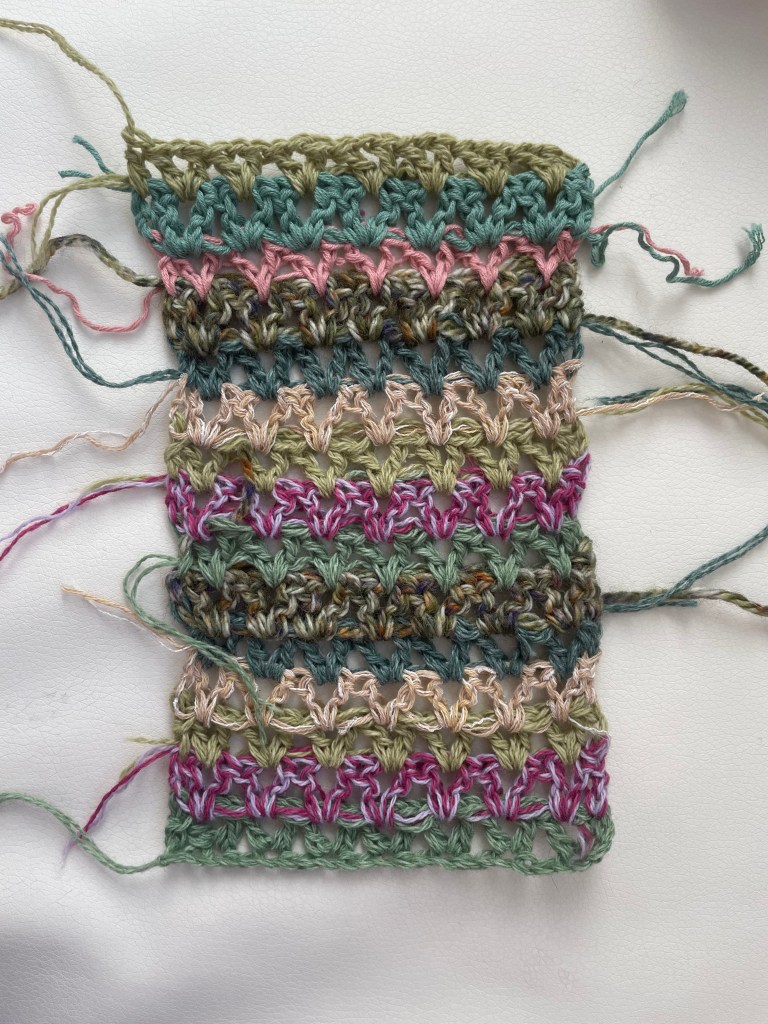
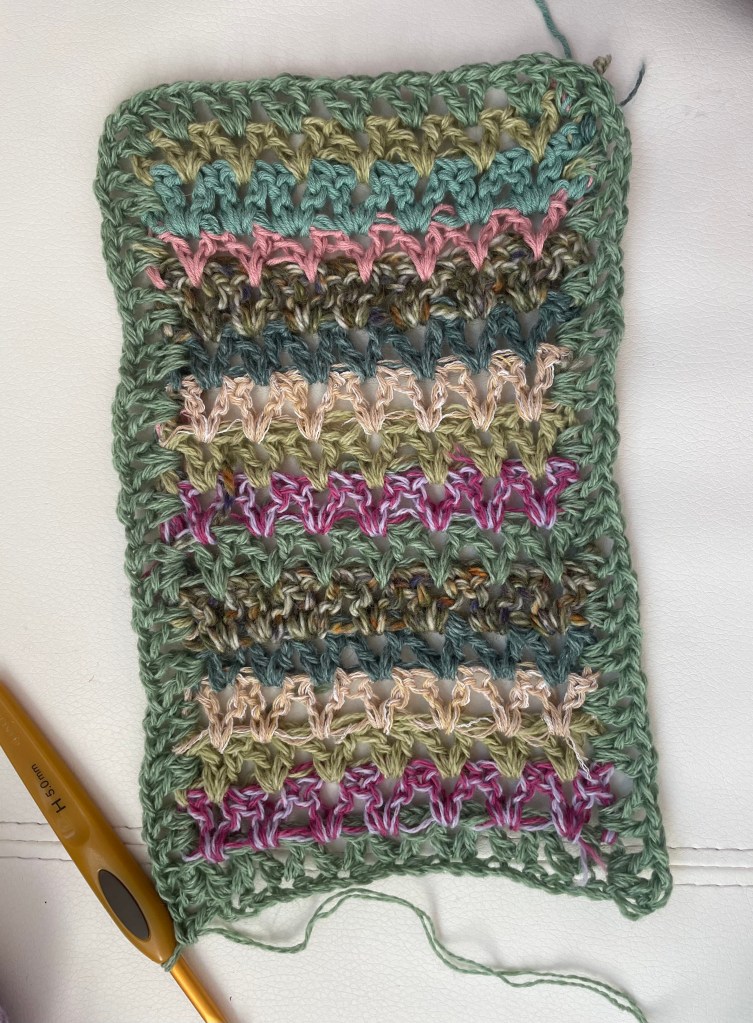
Before we dive into the pattern… can we just admire this crochet stitch?! For this balaclava I used the v-stitch, which looks SO beautiful and unique when worked up with scrap yarn. I did a striping sequence but I think a random assortment of colors would look incredible as well.

Materials:
Yarn (any weight). Although you could mix and match yarn weights, I recommend that your scraps stay within the same weight category. (For example, I wouldn’t necessarily do one row with a bulky yarn and then the next with a lace weight yarn, but using fingering/sport/DK together or aran/worsted would work)
Hook (size should correspond to yarn weight).
For my version, I used lace weight scrap yarn held double to create a sport weight. I also mixed in some rows of fingering and DK.
I used a 5mm hook for my project and would highly recommend!
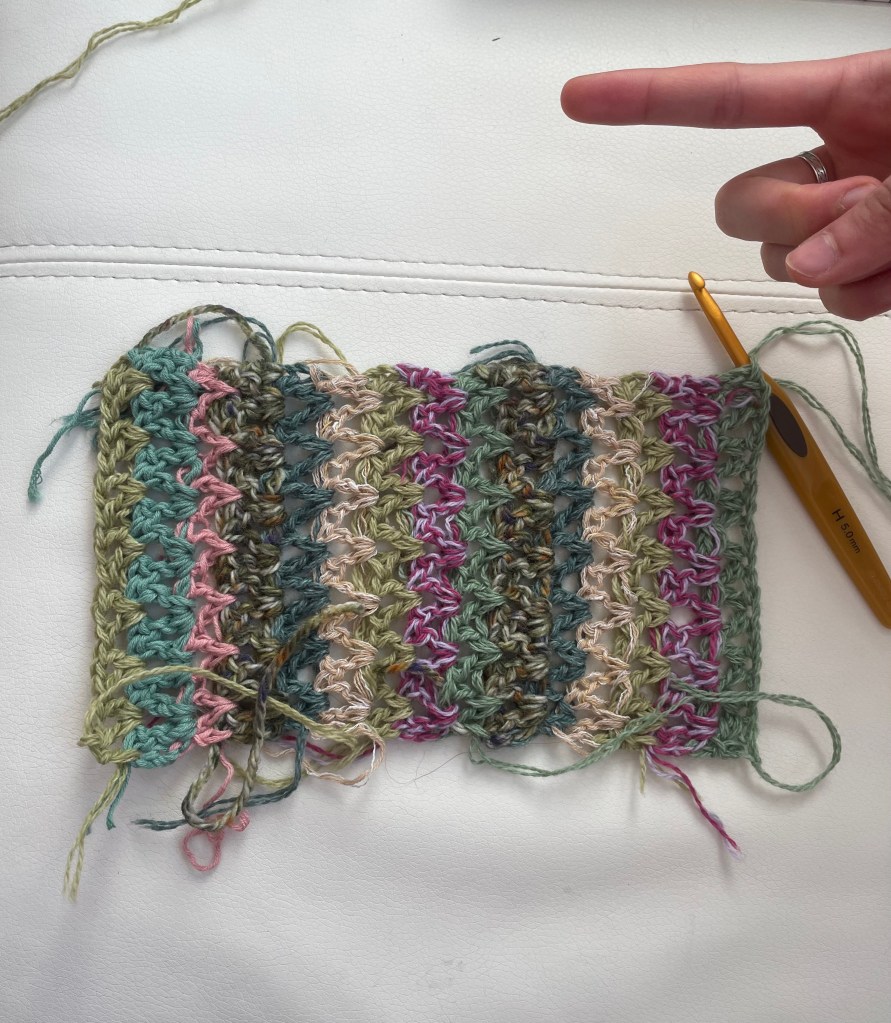
Now, before we start the pattern, here is how to do the v-stitch.
V-stitch: Dc into stitch, ch1, dc again into same stitch
Note: when changing colors in v-stitch, switch yarns on the last dc. This means on the last dc of every v stitch row, before the last dc yarn over, pull a new color through the last 2 loops on hook
Below I linked a written tutorial on the v-stitch that I found helpful (it includes tips on how to color change!) You can also simply search up this stitch for video tutorials.
https://www.hookedbyrobin.com/blog/crochet-v-stitch-written-pattern
I am working on making a sized and paid pattern for this balaclava as well, so once I update that I will link it here. The paid pattern will include sizes, a schematic, and a printable PDF version… but until then, let’s dive into the free pattern below!
UPDATE: SIZED AND PAID PATTERN AVAILABLE!
I have written up another version of this pattern which includes sizes S, M, L and a schematic + details on how to customize length and width. It is for sale on my Ravelry and my Etsy! I will link below. If you want a digital downloadable, printable pdf version of this pattern (or if you just want to support me!) please check it out!
Ravelry: https://www.ravelry.com/patterns/library/bonnie-balaclava-3
If you choose to continue with the free pattern below, just note that I have written it for my size (S), so the numbers correspond to my version (for the option to size up for a looser hood, see paid patterns above). My head circumference is 21.5 inches and the balaclava fits snugly. To adjust this, I would recommend going up a needle size or using a larger yarn. For reference, I used fingering/sport/DK weight yarn and a 5.0 mm hook.
I’ve also inserted photos at the bottom of the pattern which correspond to certain written steps, so check those out if you need some visual aid.
Pattern
- Ch 24
- V st into 4th chain from hook
- *skip 2 chains, v stitch into next chain* repeat until last 2 chains
- Skip 1 chain, dc into last chain (change color)
- * Ch 2, turn
- V stitch into the ch1 space of the v-stitch below across
- Dc into turning chain of last row (change color)*
- Repeat * – * (steps 5 – 7) until hood reaches desired length. For reference, I repeated the steps 13 more times so that there were 15 differently-colored rows. (See photo at bottom).
- Fasten off.
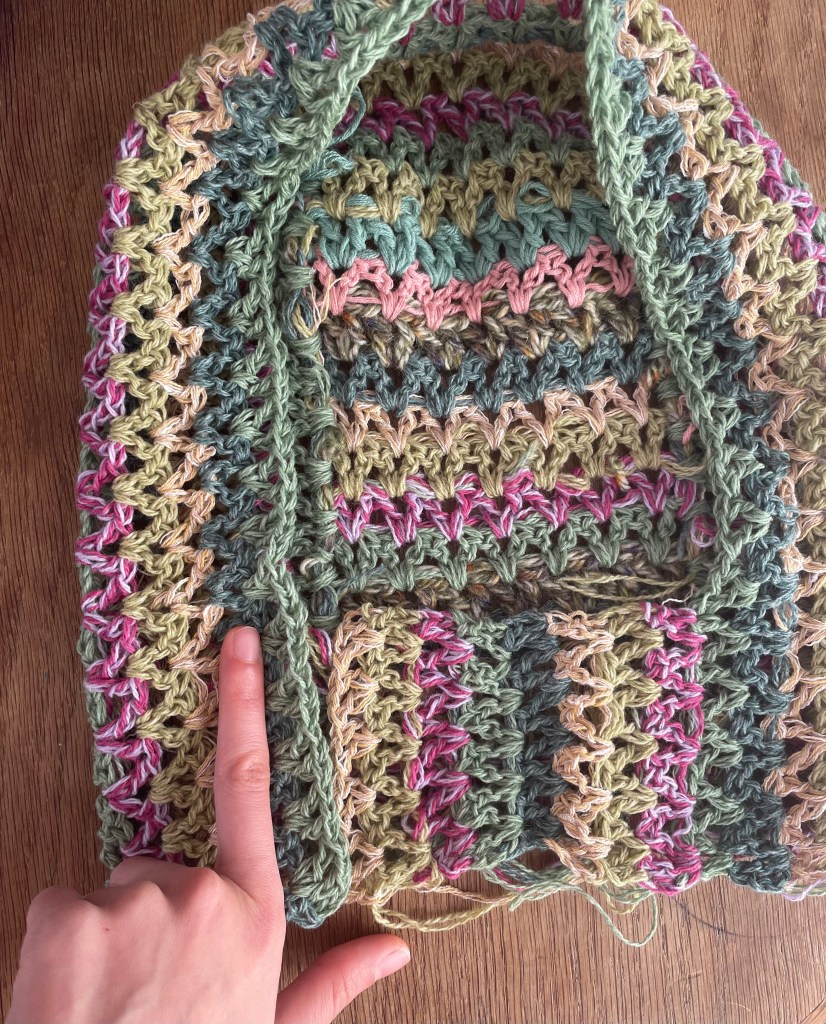
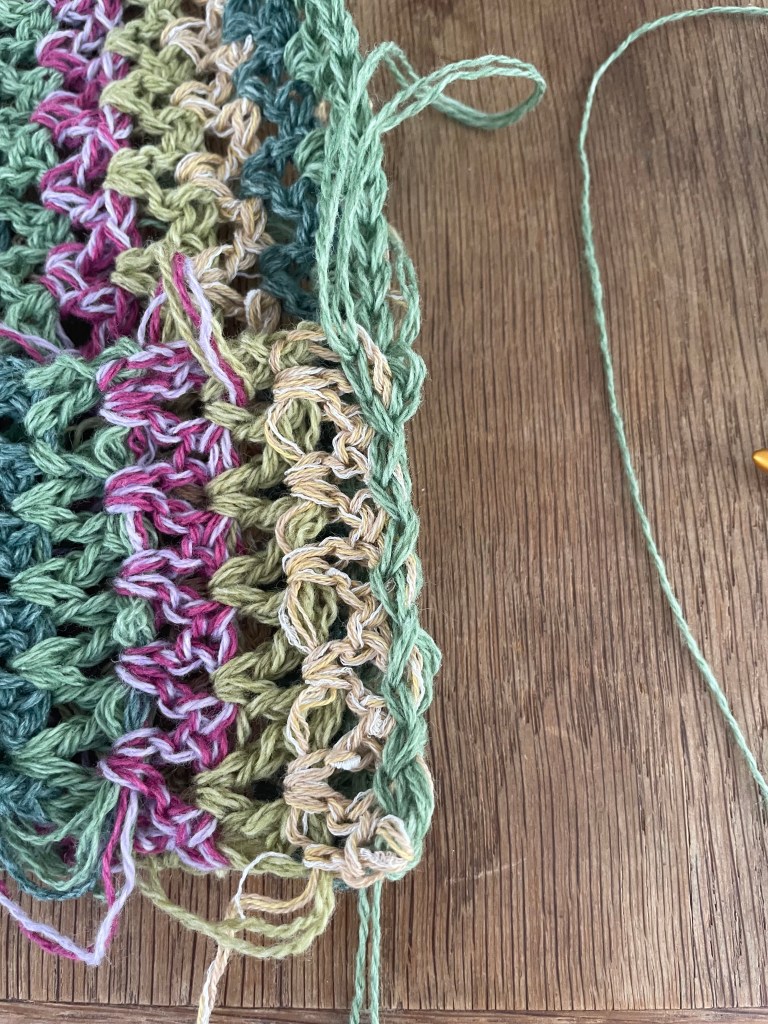
- Now, refasten yarn at the first corner (see photo at bottom).
- V-stitch into gaps shown in pictures below around three sides of your rectangle. Make a single dc in the last corner (change color)
- * Ch 2, turn
- V stitch into the ch1 space of the v stitch below across
- Dc into turning chain of last row (change color)*
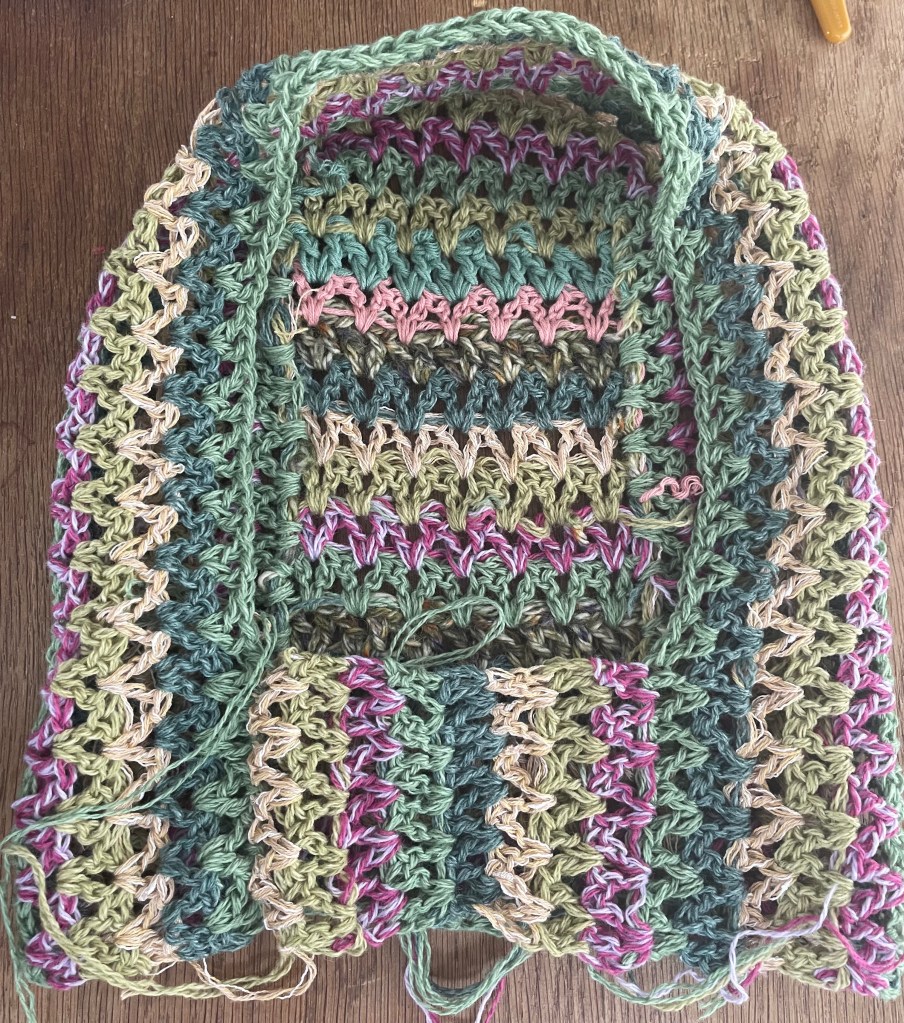
- Repeat * – * (steps 12 – 14) until hood reaches desired height (see diagram). For reference, I repeated the steps 9 more times (total of 11 times)
- Change color, ch2, and turn as if you are going to crochet another row, but only complete 5 v-stitches
- Dc into next stitch (change color)
- *Ch 2, turn
- V stitch into the ch1 space of the v stitch below across
- Dc into turning chain of last row (change color)*
- Repeat * – * (steps 18-20) until width matches (see diagram). For reference, I repeated the steps 6 more times (total of 8 times)
- Flip hood inside out and slip stitch end to the other side of the face opening
- Flip hood back so that right way is facing out.
- Option one: use 4.5 mm needles to pick up stitches around the hole of the hood. Knit in K1, P1 twisted rib until ribbing is twice desired length. Cast off.
- Optional: Make an icord. Thread around the opening, then sew ribbing cast off to ribbing pick-up.
- Option two: use a smaller hook to front post double crochet and back post double crochet a stretchy ribbing (video linked at bottom).
- Now, look to the bottom of your hood, where the neck opening is.
- Option one: pick up stitches with 4.5 mm needles around the neck of the hood. Knit in K1, P1 twisted rib until ribbing is twice desired length. Cast off.
- Option two: use a smaller hook to front post double crochet and back post double crochet a stretchy ribbing (video linked at bottom).
- Fasten off, weave in ends, and you’re done!
I hope you enjoyed this balaclava pattern 🙂
If you want to support me, check out my Etsy store (linked below) and my Ravelry store (linked below as well). Or just continue viewing my site and exploring my other free patterns!
Happy crocheting/knitting!

Leave a comment