

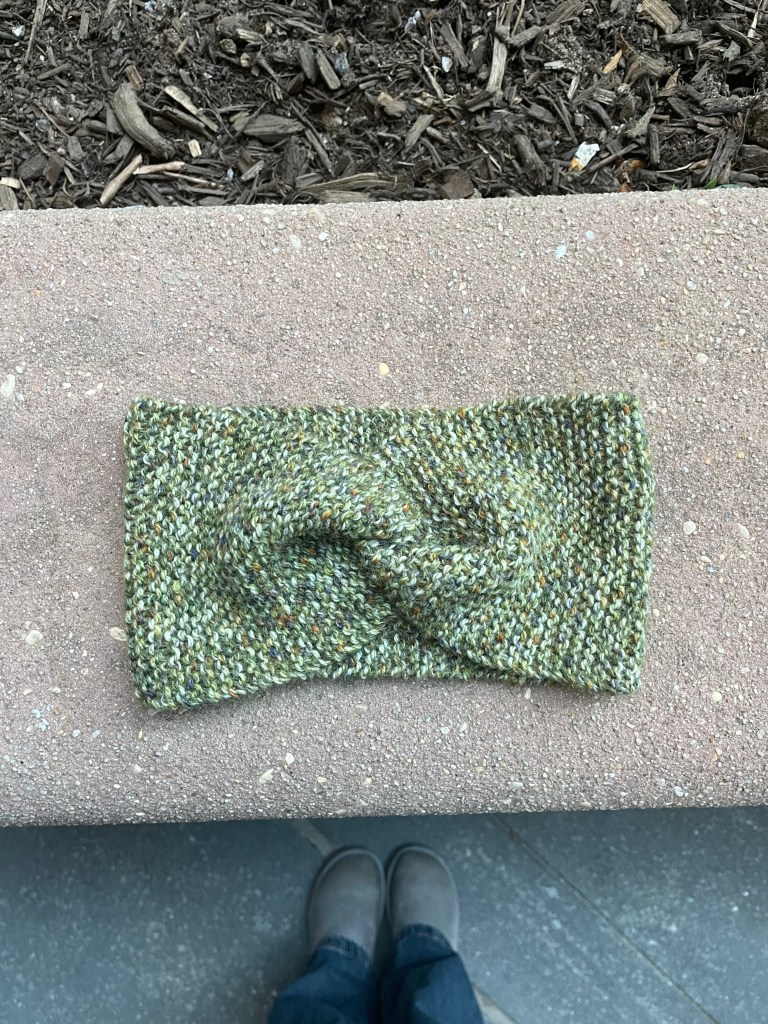
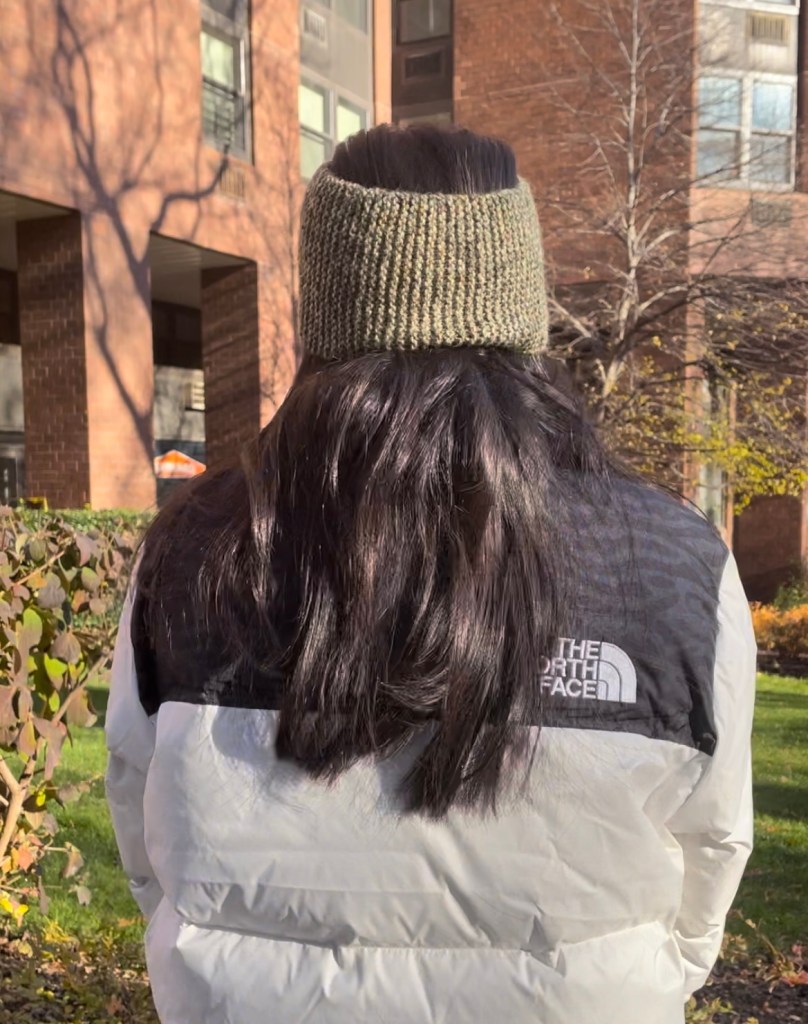
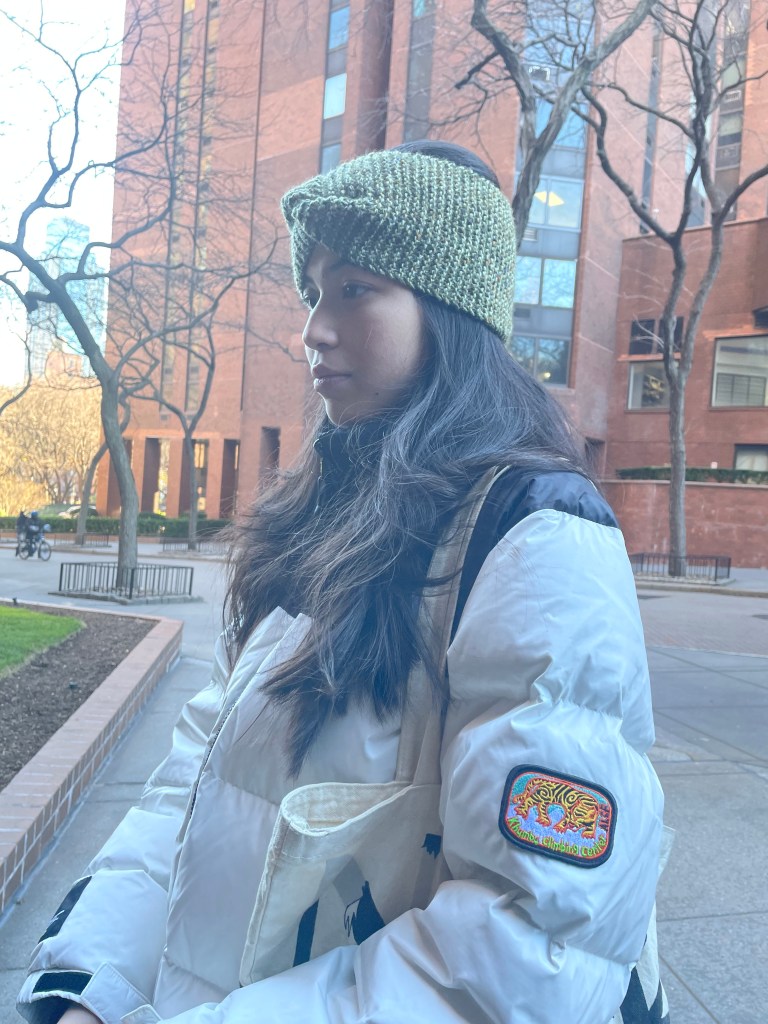
Sometimes, hats just aren’t practical. For those days when you want to have your hair up or just don’t feel like styling a beanie, this headband is your best friend! The Twist Headband is a squishy, stylish staple that instantly elevates any outfit while keeping your ears toasty warm all winter long.
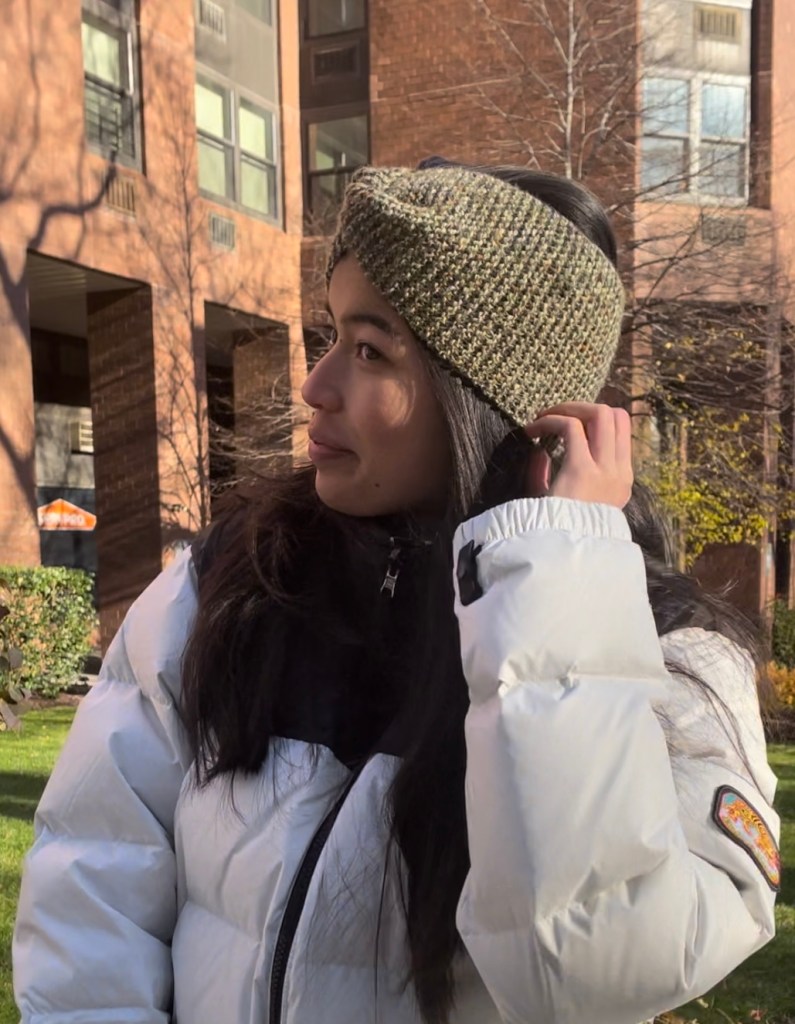
I used a fun, hand-dyed yarn for mine, but you can use any yarn you’d like! The simple, squishy garter stitch used in this pattern allows for little details — a special yarn, the center twist — to really shine.
The twist may look complicated at first — but it’s really not! This pattern is PERFECT for beginners because it’s basically a knitted strip. The magic all happens once the knitting is done and the headband is ready to be folded and sewn together!
This pattern is also SO customizable. Choose whatever yarn fiber, weight, color, and twist you want! Any needle size works. You can make the headband as wide as you like and as long as you like, to fit people of ALL HEAD SIZES! Instructions are included in the pattern for all these customizations, of course 🙂
Anyways, I think it’s time we get to knitting, right?!
Let’s dive into the pattern.
Materials:
Any weight yarn you’d like (I used a worsted weight, hand-dyed, woolen-spun yarn, but truly anything will work. I recommend wool-blends for warmth, and thicker yarn for a quicker knit).
Any needle size! I recommend looking at the needle size recommended for your yarn weight (I used 5mm needles for my worsted weight yarn). If you want a denser headband, size down. For a looser gauge, size up!
A needle. This will be used to sew up the ends of your headband, though you could also opt to crochet the ends together.
Pattern:
- Cast on any number of stitches. This will determine how wide your headband will be. For reference, I cast on 25 stitches.
- Knit in garter stitch flat until headband reaches desired length. (Garter stitch means knitting every row, no purl rows!) I knit for a little less than 18 inches. When looking for the right length, I recommend wrapping your knitting around your head to see how it will fit. Make sure to account for stretch — garter stitch stretches A LOT.
- Follow the picture directions below to fold the edges of your headband together:

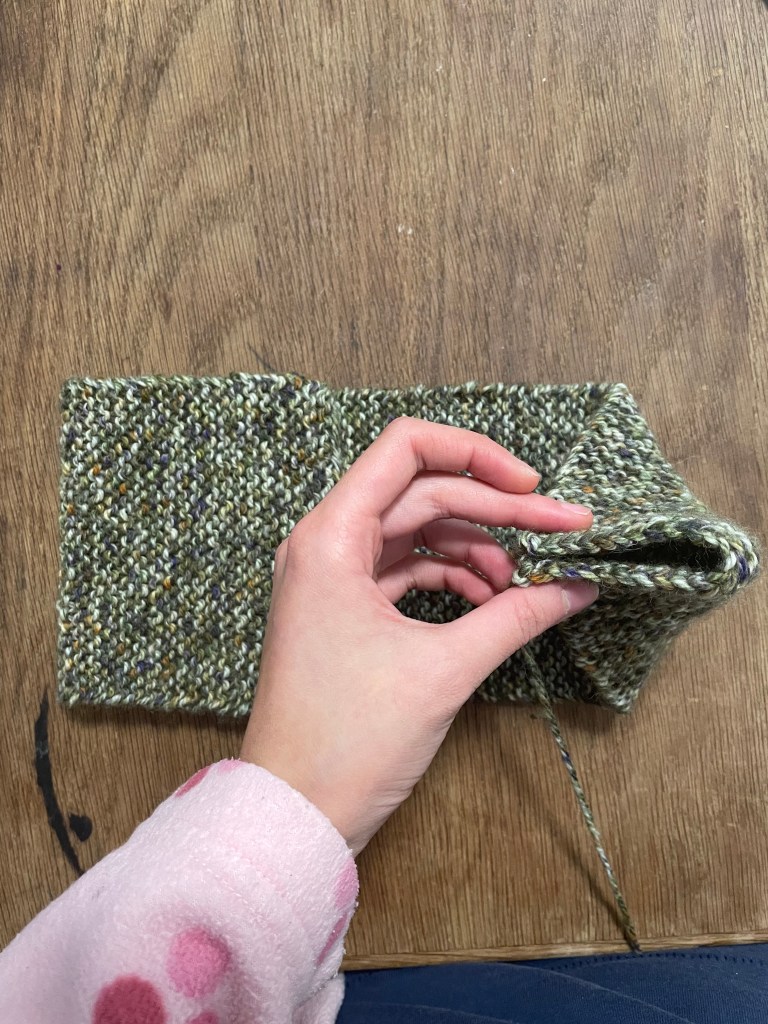
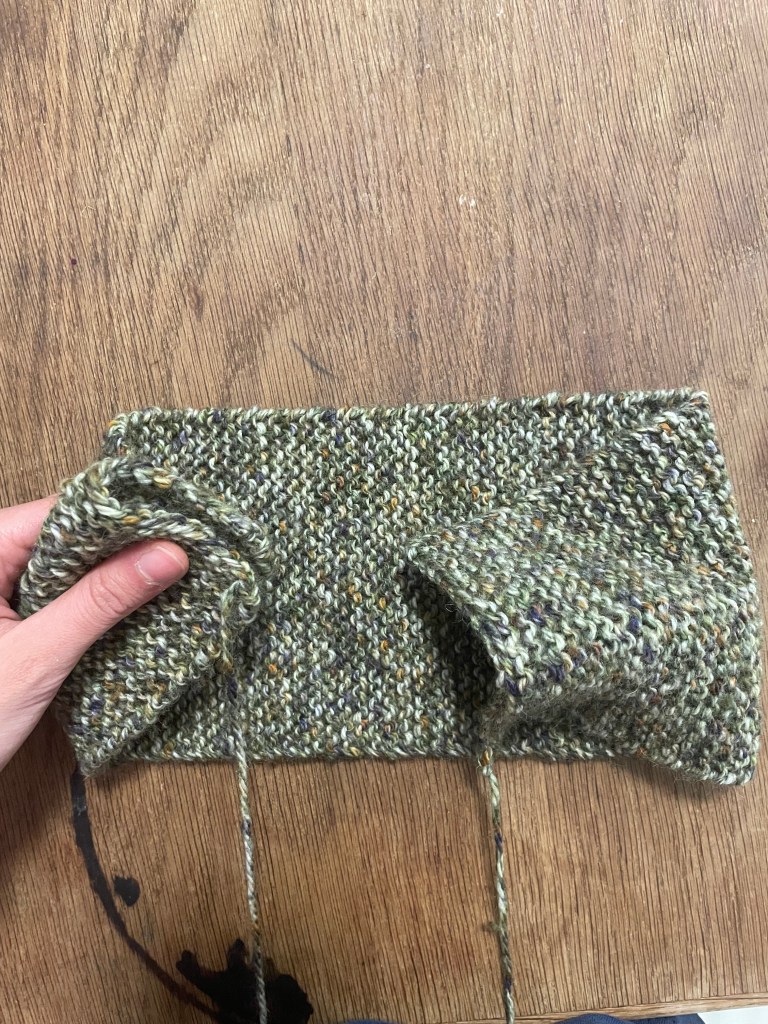
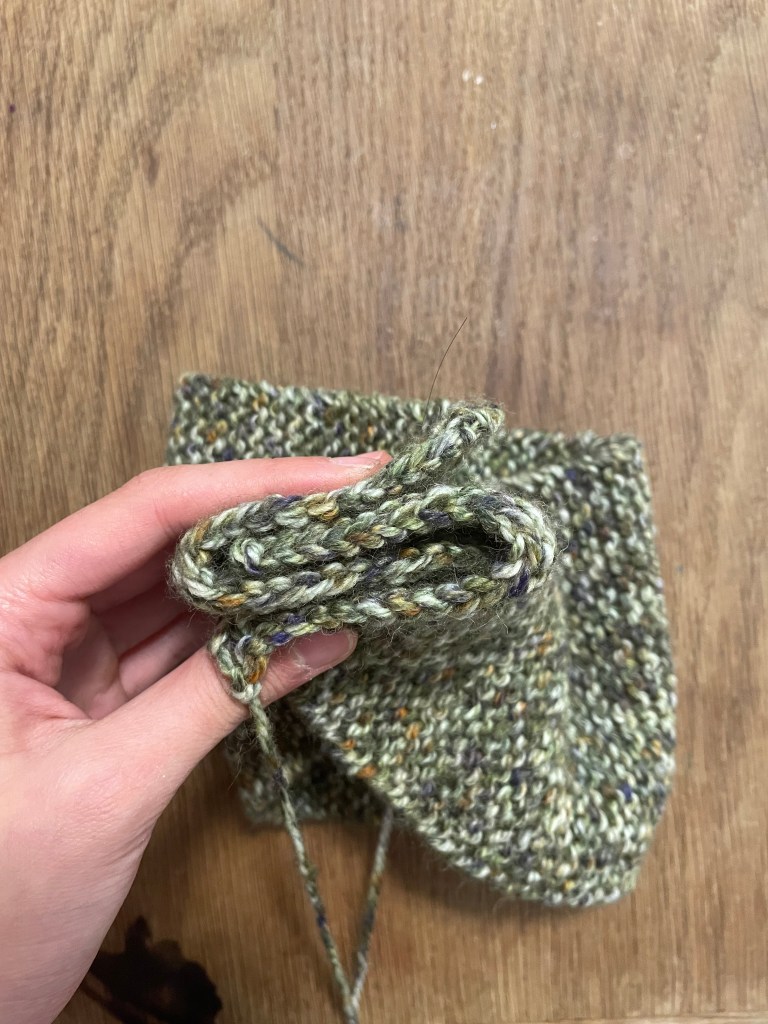
Now seam this fold together.
When you’re done seaming, flip your headband inside out. Now you’re done!
I hope you enjoyed this knitting pattern. Feel free to check out my blog for more free knitting and crochet patterns! I have a free knitting pattern for matching fingerless mittens to this headband as well 🙂
Happy Knitting!

Leave a comment