
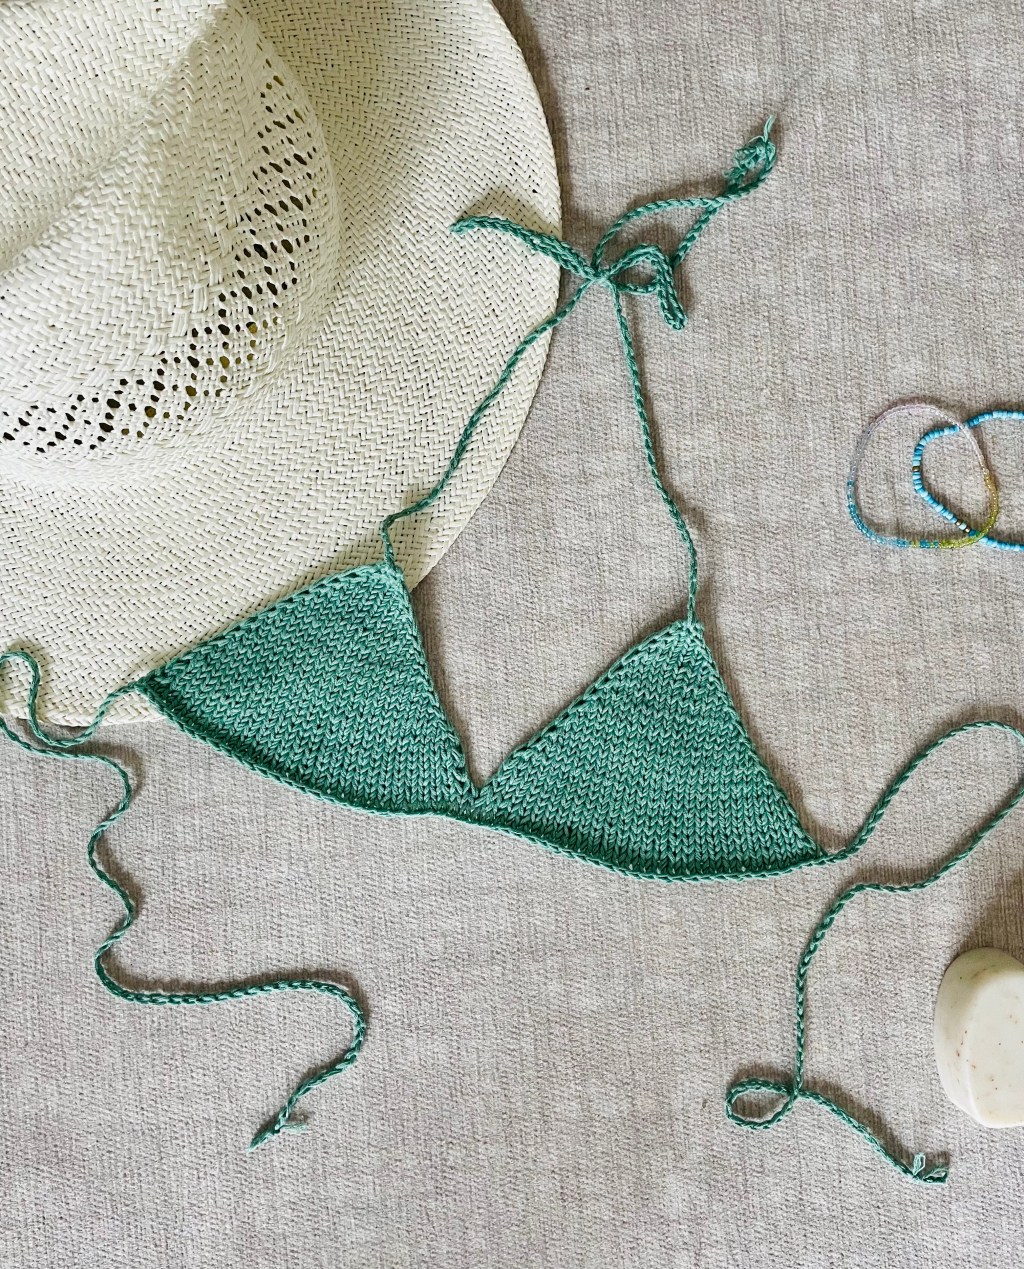
Even though summer is coming to end, it isn’t too late to whip up this quick little bikini pattern. I made mine in less than two hours! With yarn of your choice and customizable sizing, this basic bikini pattern is the perfect accessory for summer.

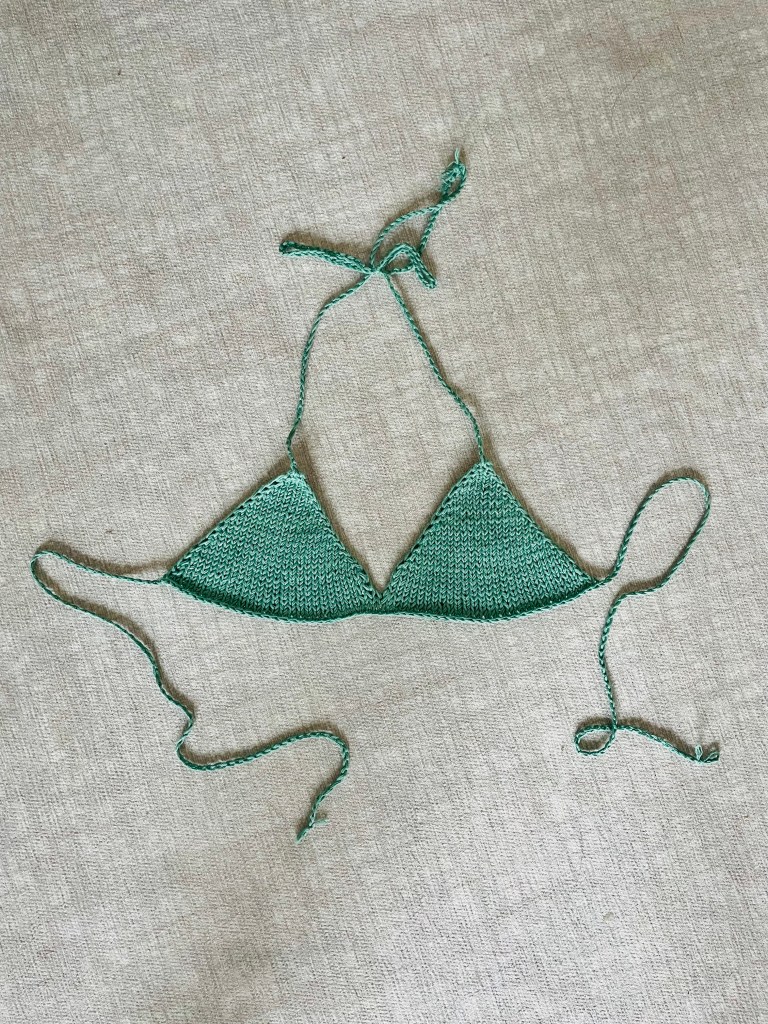
The “Basic Bikini” is aptly named because of its simple construction. You start by knitting two triangles (don’t worry, I’ll show you how to create those neat edges and increases). When you have knitted both triangles and have the live stitches on hold, you create a cord (whether a knitted icord or, in my case, a crochet chain) and knit (or crochet) it onto the bottom of each triangle. Lastly, add some straps to the tops of the triangles and you’re done! If that sounded confusing, don’t worry — I’ll explain it all in great detail below.
If you’re afraid a triangle bikini won’t fit you right, don’t fear. I used to hate triangle bikinis because they always gapped in the wrong places. However, when I decided to finally make my own, I realized that knitting a bikini means that I could stop whenever the measurements fit ME. This makes the experience so much more customizable and personalized, so I highly recommend you give the triangle bikini a second chance!
There’s also a video tutorial of ALL the steps in the pattern, so if any of the written instructions confuse you check out the video tutorial at the end of this post 🙂

As for functionality, I will say that a knitted bikini perhaps isn’t the most hard-wearing bikini there is. However, there are some ways that you can alter your bikini so that it can withstand those ocean waves. One way is by using a yarn specifically made for the water. I’ve seen some really cool swimsuit yarns lately, so check those out!
Another way would be by adding elastic. Although I didn’t (since my bikini is mostly for aesthetic purposes on the beach, not for hard core swimming), I would definitely add some in once my bikini starts to lose its shape a bit more.
Are you ready to dive into this free pattern and wear this bikini on the beach all summer (or for what’s left of it?) Because I certainly am!
NOTE: Before you continue to the free pattern below, the Basic Bikini is also available on my Ravelry and Etsy!
If you want a digital downloadable, printable pdf version of this pattern (or if you just want to support me!) please check these two platforms out!
Ravelry: https://www.ravelry.com/patterns/library/basic-bikini-4
MATERIALS:
Yarn (I used a DK weight cotton yarn — DROPS Safran held double — but you can use any yarn you’d like. I recommend a fiber that is not too warm, since this is a summer garment, but also not completely plant-based, so that it retains stretch. For example: rayon, a cotton-merino blend, something with nylon, etc.)
Needles (the sizing should match your yarn. I used 3.5 mm needles. Keep in mind that you may want to size down a needle size from what is recommended for your yarn weight so that the resulting knitted fabric is more opaque and has less gaps.)
Optional: crochet hook for straps. If you prefer a knitted icord, that is completely doable as well. There are instructions in the pattern for both.
Optional: elastic for the straps/bottom of the bikini/edges of the bikini. Elastic will help cinch your bikini together.
ABBREVIATIONS:
M1R: make one right. (increase)
M1L: make one left. (increase)
PATTERN:
For a video tutorial of all of these steps, check out the youtube video linked at the end!
triangle 1:
(Note that if you want to add bust increases, which are not included in this pattern, the time to do so would be at step 6).
- Cast on 3 stitches.
2. Knit across.
3. Slip first stitch purlwise (with yarn in front). Purl the rest of the stitches across.
4. Slip first stitch purlwise (with yarn in back). M1R. Knit until last stitch. M1L. Knit the last stitch.
5. Repeat steps 3 and 4 until triangle reaches the desired width (put the triangle against your chest to measure). End on a purl row.
6. If the triangle has also reached your desired length, you can stop here and move onto step 7. If you would like more length, repeat rows 6A and 6B until your triangle reaches desired length as well.
6A: Slip first stitch purlwise (with yarn in back). Knit across.
6B: Slip first stitch purlwise (with yarn in front). Purl across.
7. Leave stitches on hold, preferably on your needle cord. Cut yarn.
triangle 2:
Repeat steps 1-7 above for the second triangle. When both triangles are finished, leave them on the same needle cord, stitches live. DO NOT CUT YARN.
8. Now you are going to knit across both triangles. Make sure your knitting is oriented so that you are are on the right (knit) side and not the purl side. Slip the first stitch purlwise (with yarn in back) and knit across one of the triangles. Then, simple continue knitting across the next. This should connect the two triangles.
9. Slip first stitch purlwise (with yarn in front) and purl across both triangles.
10. Slip stitch purlwise (with yarn in back) and knit across both triangles. Cut yarn.
straps:
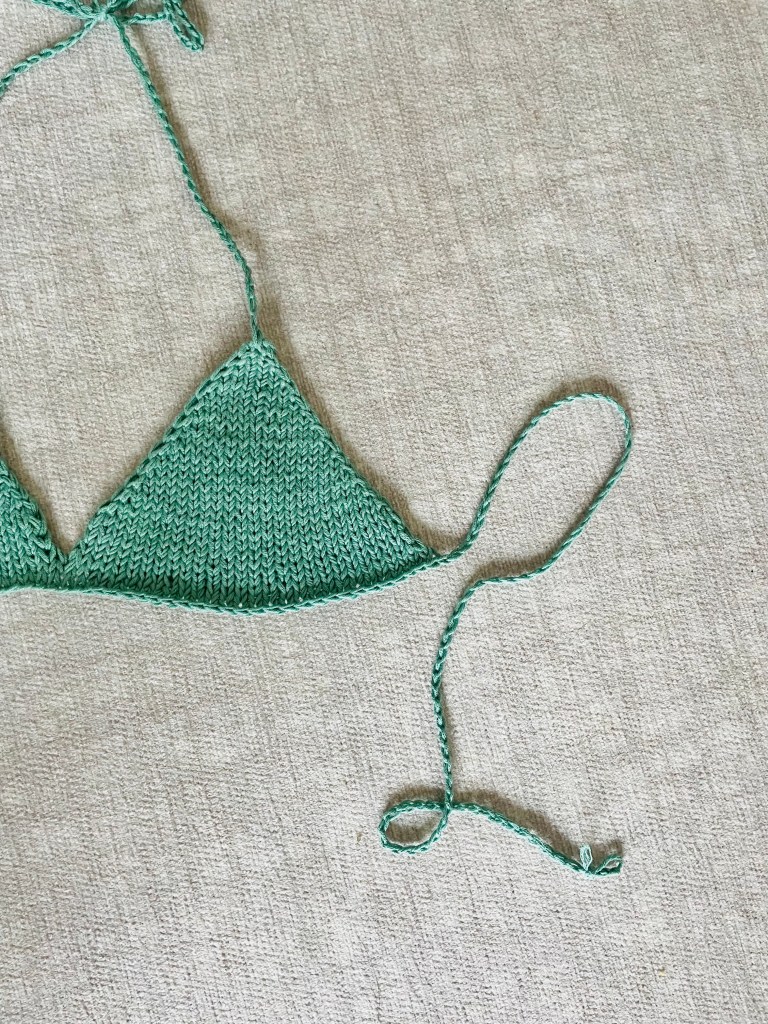
Option 1: crochet chain.
- Chain the length that you want your strap to be. Make sure that it is long enough to tie around your body.
2. There should be one stitch on your crochet hook. Orient the bikini so that it is knit side up (regardless of the row you ended on with the triangles) with the triangles pointed downwards. Keeping the stitch on your crochet hook, insert the hook knitwise into the first of the stitches on your needles. Bring yarn around the hook (as if you are knitting) and then pull the yarn through both loops on the hook. Insert hook knitwise into the next stitch on the needles and repeat.
3. When you reach the end of the triangles, continue chaining to create the second strap. When the length of the second strap matches that of the first, fasten off.
4. Chain two more straps and attach to the tops of the triangles. I simply knotted them and wove in the ends.
Option 2: knit icord.
- Start knitting an icord until length meets desired strap length (make sure it is long enough to tie around the body).
steps to knit icord: cast on 2 stitches. Knit across. Slip stitches back onto the left hand needle. Repeat.
2. Orient your bikini knit-side up, triangles down. Slip icord stitches onto the bikini needles. Knit one stitch, then ssk (the ssk will combine an icord stitch with a bikini stitch). Slip stitches back onto LH needle.
3. Repeat knit one stitch, ssk, and slip back onto LH needle until icord stretches across the whole bikini.
4. There should be 2 stitches left on your needles. Continue your icord until second strap matches the length of the first strap.
5. Cast off.
6. Cast on two more icords and attach to the tops of the triangles. I simply knotted them and wove in the ends.
Note: The video tutorial I will link below only has a visual for the crochet straps. For an icord tutorial, use this link below:
For an icord bindoff tutorial, use this link below:
That’s it! Your bikini is finished! (You can optionally add in elastic. I didn’t, but for a more functional bikini, I would recommend)
If you want the full video tutorial, watch my tutorial below on Youtube. Your support means everything to me!
I hope you enjoyed knitting up this quick little piece. I truly love my bikini and wear it all the time, whether for sun bathing, under a tube top, or at the beach. I’ve even tested it in the pool!

Leave a comment